Class Charts allows you to create note categories which you can to differentiate between notes on different topics.
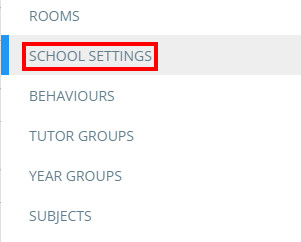
To create a note category, click on the three lines menu in the top right-hand corner and select School Settings from the list of available options.
![]()
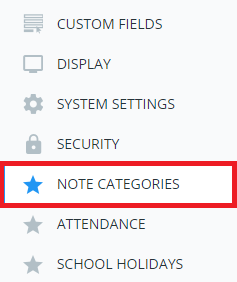
Next, select Note categories from the left hand side navigation menu.
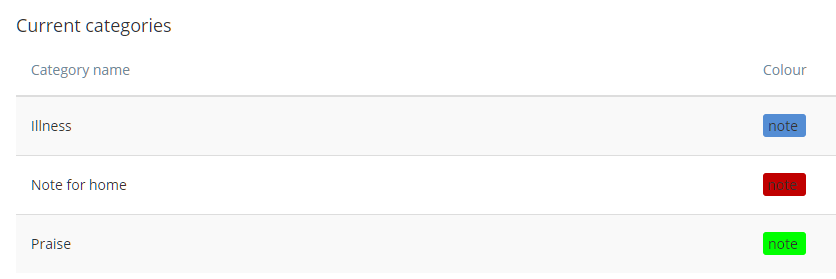
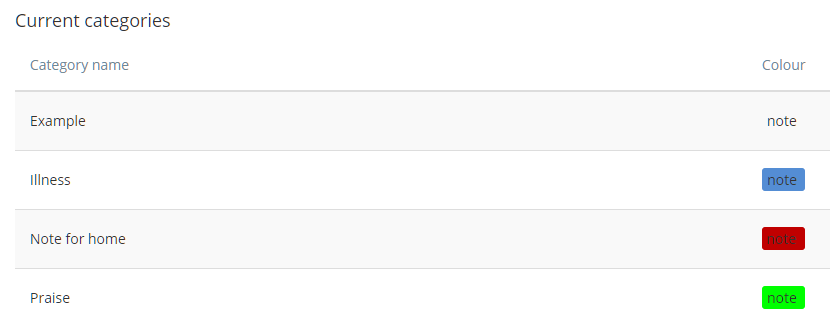
You will be presented with a list of note categories that are currently set up in your school.
Enter a category name into the Add category field and click on the Add button.

The new note category will be added to the Current categories list.
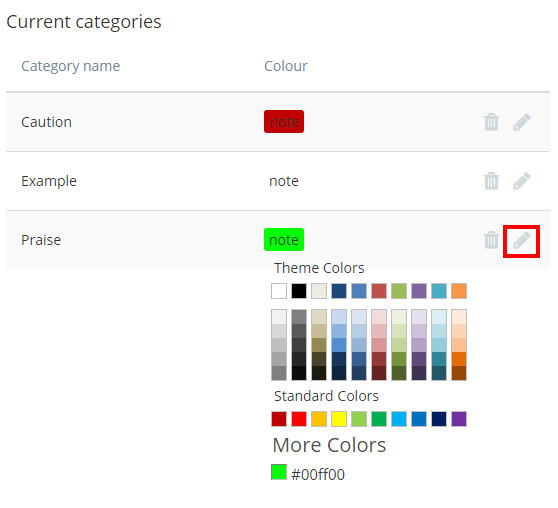
Editing a note category
To change the colour of a note category, click on the pencil icon next to the note category of your choice.
A colour picker will appear, allowing you to select a new colour for the note category.
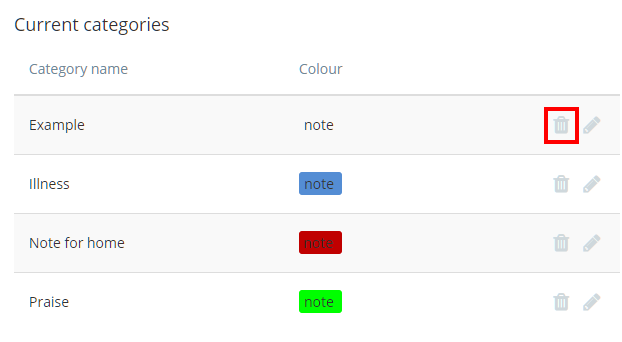
Deleting a note category
To delete a note category, click on the bin icon next to the note category of your choice.
A popup will appear, asking you to confirm your choice. Click on the OK button to finish deleting the note category.
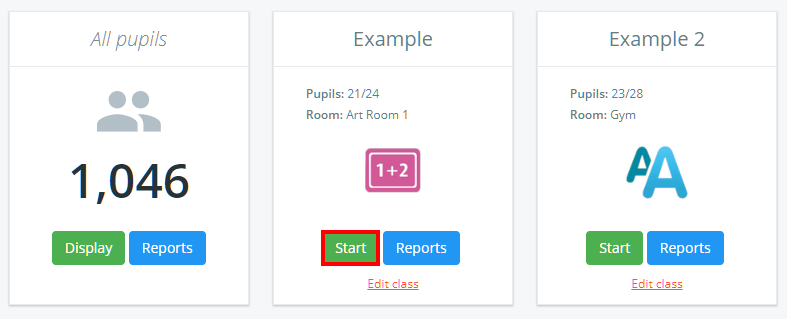
Applying a note category to a note
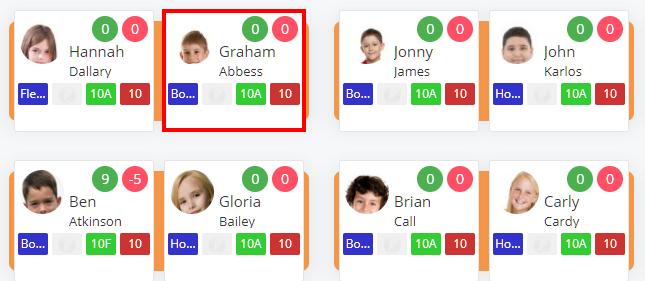
To apply a note category to a pupil note, click on the Classes tab along the top of the page and start the class of your choice by clicking on the Start button.
![]()
Next, select the pupil of your choice by clicking on their pupil card.
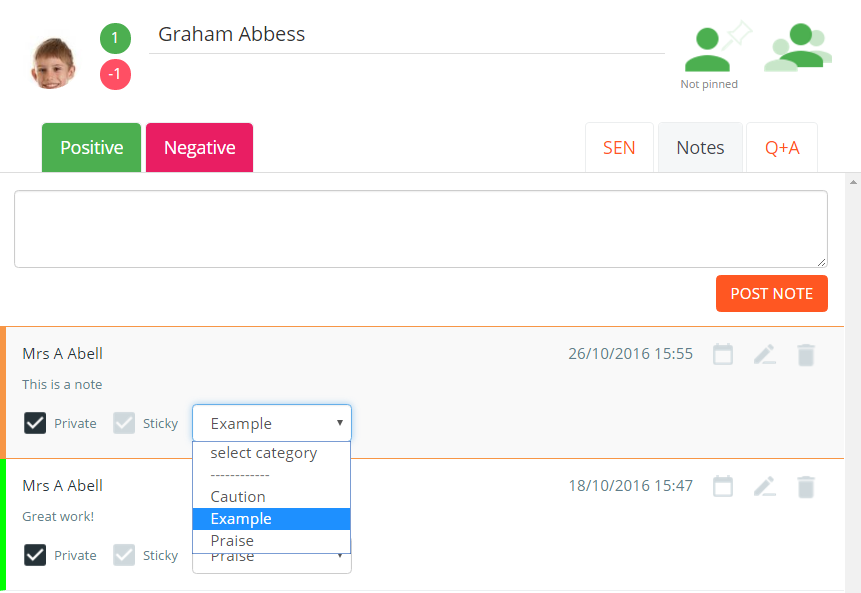
The pupil sidebar will appear. Click on the Notes tab to view the pupil’s notes.
To apply a note category to the note of your choice, choose a note category from the select category drop down menu.