Class Charts allows you to add notes about specific pupils, which can be used to highlight key information about them (e.g guidance for cover teachers).
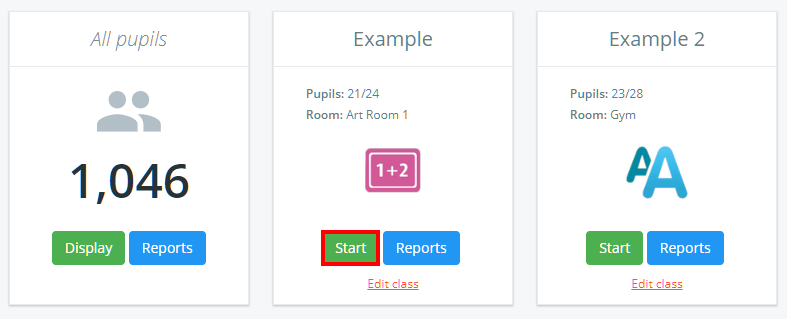
To create a note for a pupil, click on the Classes tab along the top of the page and start the class of your choice by clicking on the Start button.
![]()
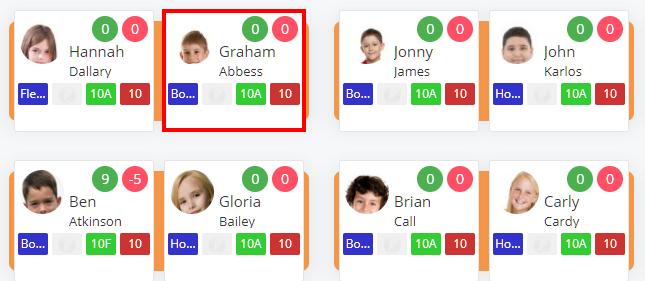
Next, choose a pupil by clicking on their pupil tile.
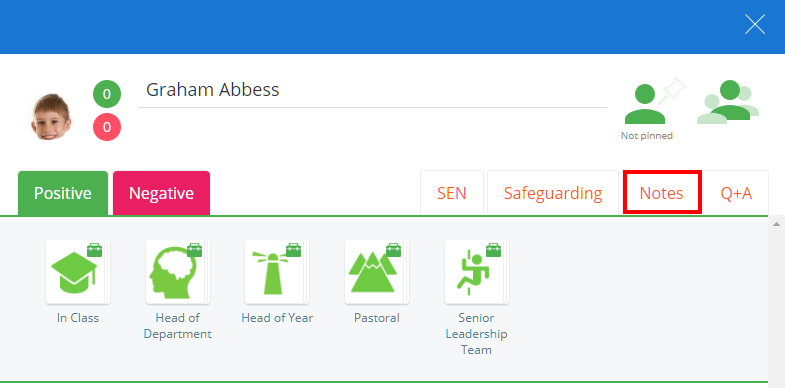
The pupil sidebar will appear. Click on the Notes tab to view a list of notes that have been written about the selected pupil.
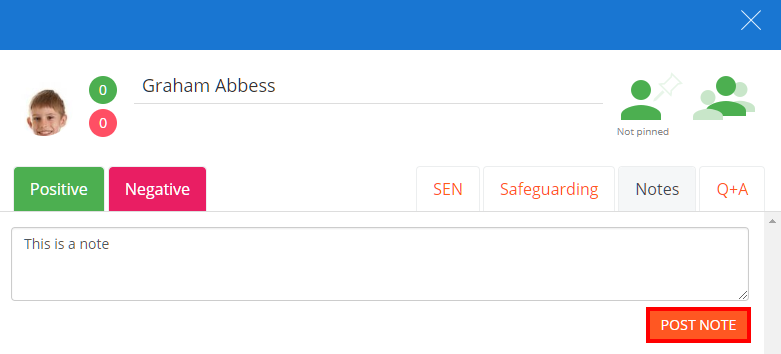
Enter the information into the text box provided and click on the Post note button to add it as a new pupil note.
The new note will then appear below the text box with any previously created pupil notes.
Pupil note editing options
Each pupil note can be edited after it has been created. The available editing options are explained below:

Calendar icon: Click on this icon to change the date of the pupil note.
Pencil icon: Click on this icon to make changes to the pupil note text.
Bin icon: Click on this icon to delete the pupil note.
Pupil note sharing options
You are also able to choose who to share the note with. By default pupil notes will be private, but additional options are displayed when Private is unticked. The available sharing options are explained below:

Private: Private notes are only visible to the note’s creator and school admins.
Sticky: Sticky notes are displayed at the beginning of the pupil notes list. This is typically used for vital information about that pupil.
Share with parents: If parent accounts are enabled by your school, you can tick this option to make the note visible to parents.
Share with pupil: If student accounts are enabled by your school, you can tick this option to make the note visible to students.