There may be times when a visual representation of pupils in a particular group is required, so that pupils who need additional support can be identified. Class Charts allows you to do this through War Boards.
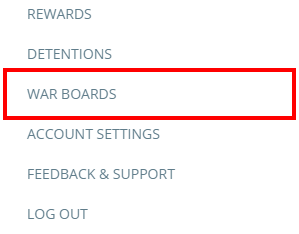
To view and create War Boards, click on the three lines menu in the top right hand corner of the page and select War Boards from the list of available options.
![]()
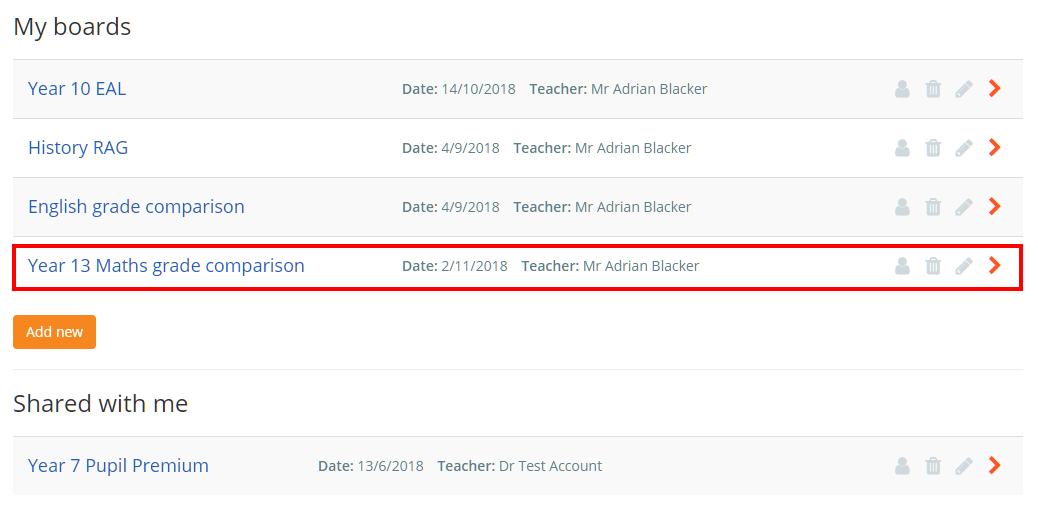
You will be redirected to the War Boards page where War Boards you have created are displayed, along with any additional War Boards that have been shared with you.
To create a new War Board, click on the Add new button below the My boards section.

You will now be ready to start adding pupil data to your War Board. To choose which pupils to include in the War Board, select the filters of your choice from the Update war board menu.
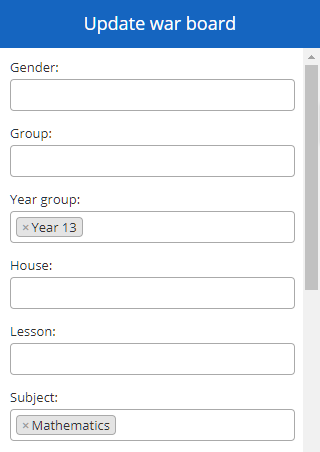
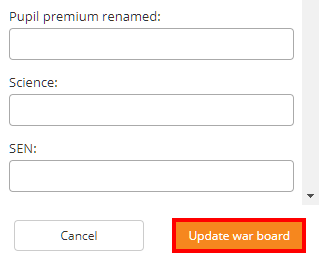
Once you have selected your chosen filters, click on the Update war board button at the bottom of the menu to apply them.
The selected filters will now be displayed underneath the War Board’s name. You can update the selected filters at any time by clicking on the blue filter icon in the top left hand corner of the page.
Choosing a War Board type
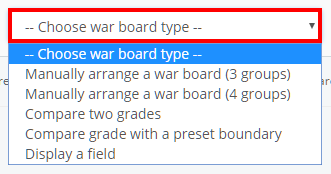
Next, you will need to decide on how to display the pupils that fall under the selected filter categories. Select a display method from the Choose war board type drop down menu in the top right hand corner of the page. The available options are explained in more detail below:
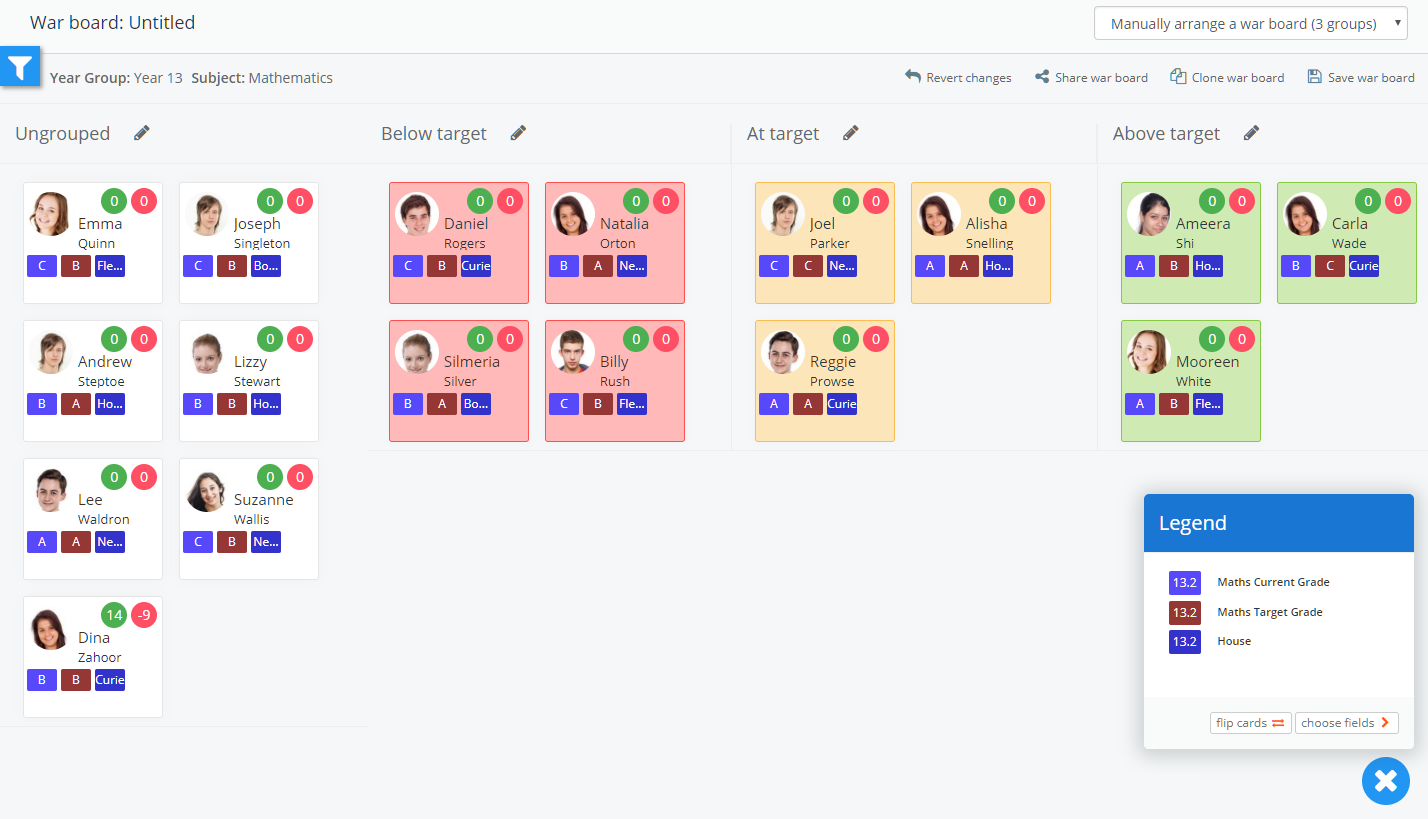
Manually arrange a War board (3 groups)
This display option allows you to manually arrange pupils into three separate groups. To move a pupil to a different group, click and drag them to the group of your choice.
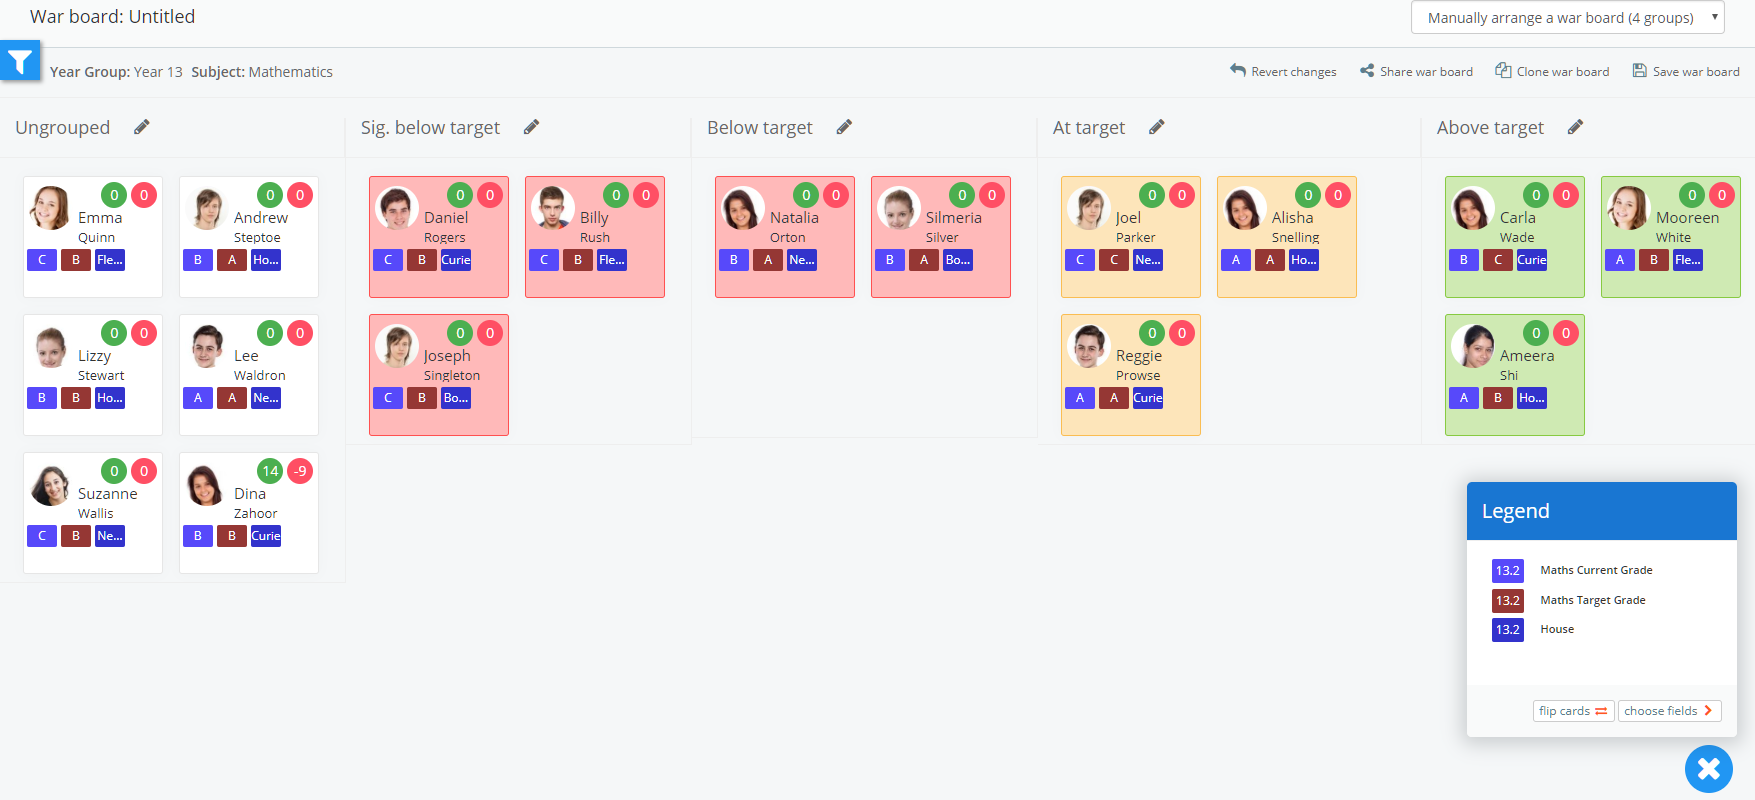
Manually arrange a War board (4 groups)
This display option allows you to manually arrange pupils into four separate groups. To move a pupil to a different group, click and drag them to the group of your choice.
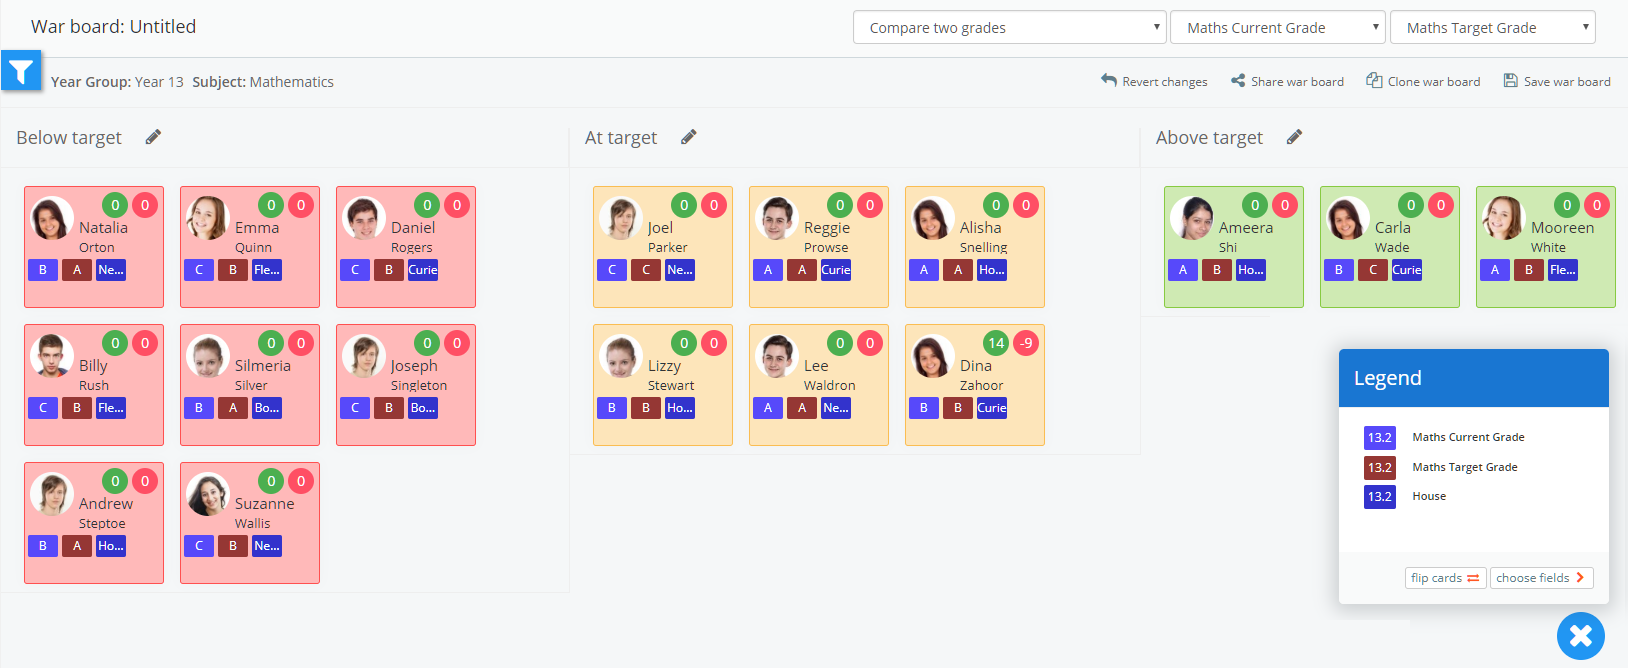
Compare two grades
This display option automatically groups pupils based on their values for two custom fields. Select the two custom fields to be used as the current grade and target grade from the available drop down menu.
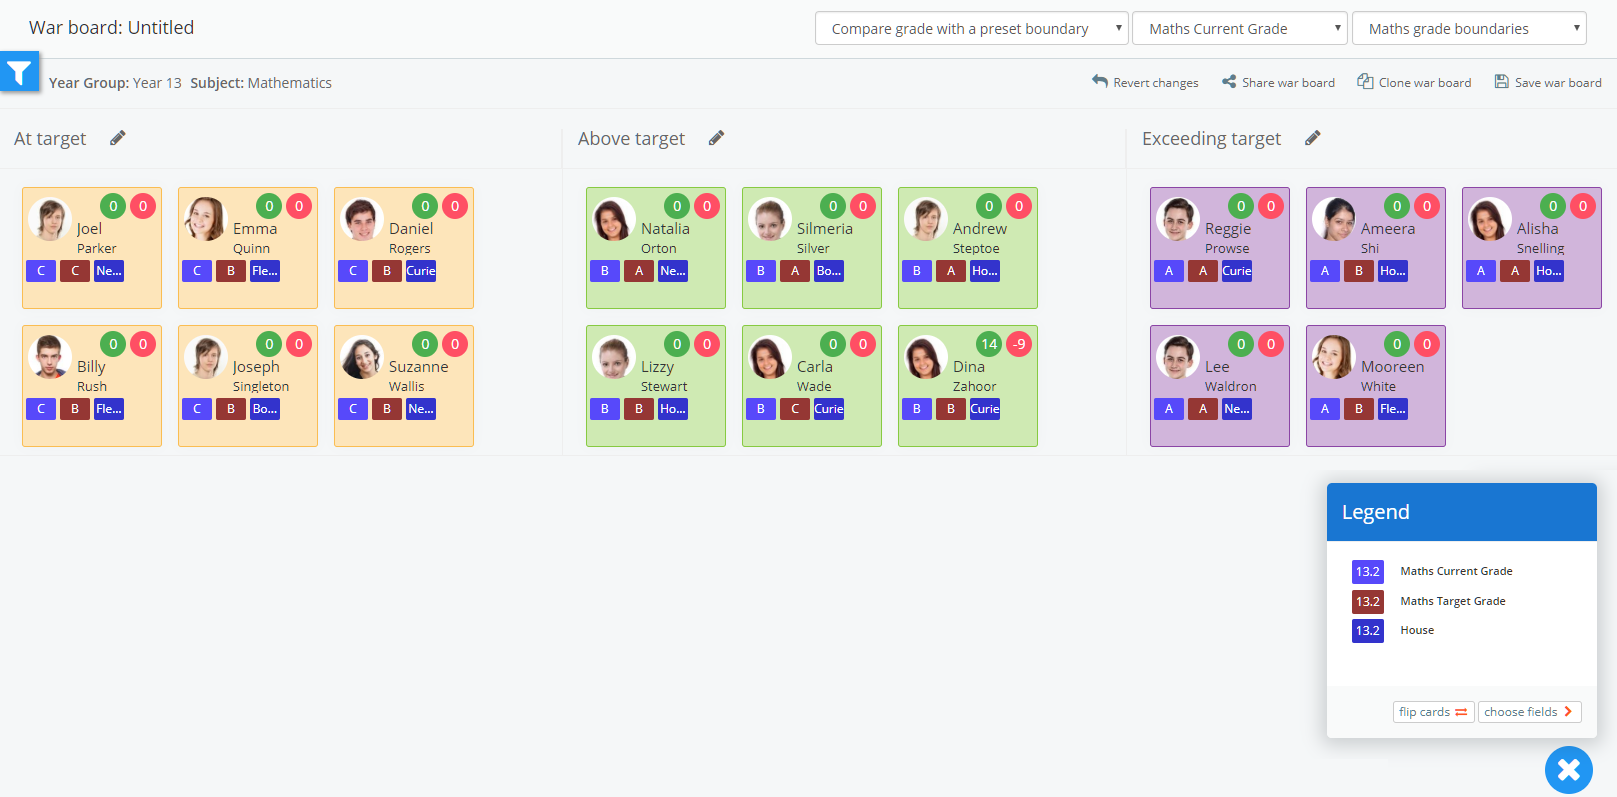
Compare grade with a preset boundary
This display option automatically groups pupils by comparing their custom field value against a previously defined target boundary. Select a custom field and a target boundary from the available drop down menus.
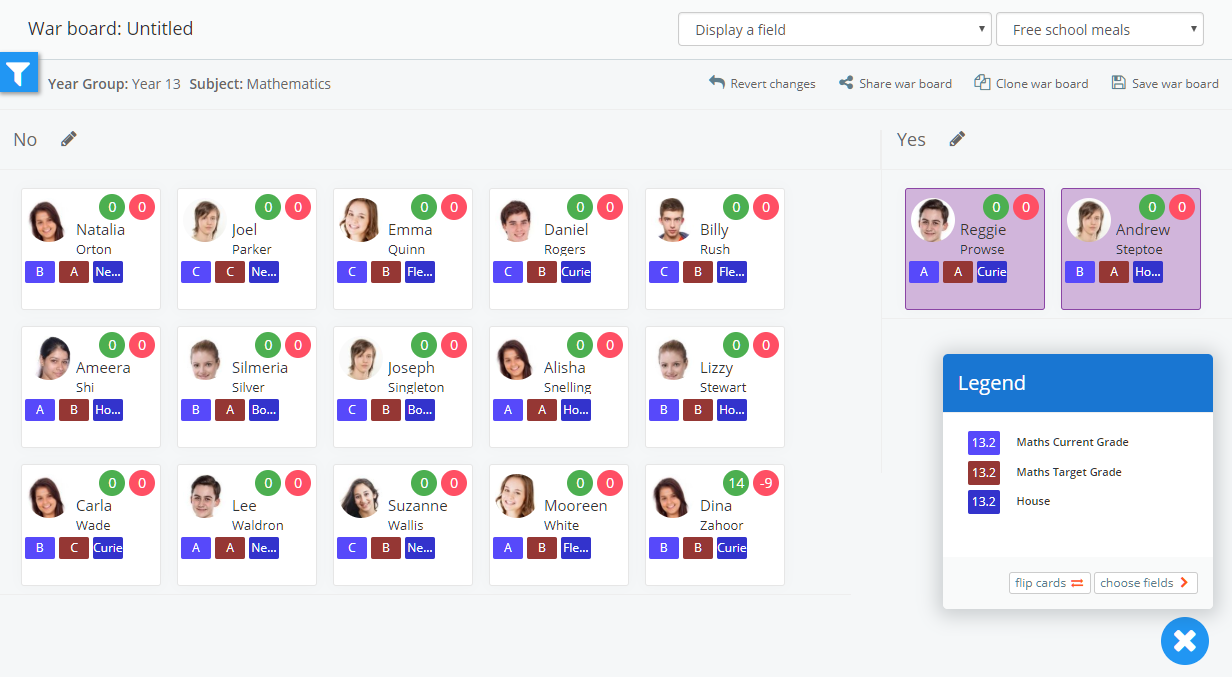
Display a field
This display option automatically groups pupils based on their value for a specific custom field. Select the custom field of your choice from the drop down menu.
Removing pupils from a War Board
There may be times when it would not be appropriate to include certain pupils on a War Board. To delete a pupil from a War Board, click and drag them to the blue area in the bottom right corner of the page.
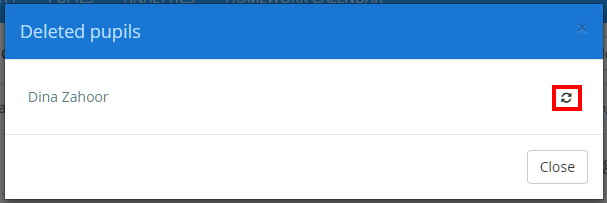
To restore a deleted pupil, click on the blue area and use the pupil’s restore button in the Deleted pupils popup.
Reverting changes made to a War Board
If you have made changes to your War Board that you would like to undo, click on the Revert changes button in the top right hand corner.
![]()
You will now be able to use the Back and Forward button to undo and redo changes respectively.
Click on the Save & close button once you have finished reverting the changes.
![]()
Saving a War Board
Once you are happy with your War Board, click on the Save war board button in the top right hand corner of the page.
![]()
A popup will appear, asking you to provide a name for the new War Board. Enter a name and click on the OK button.
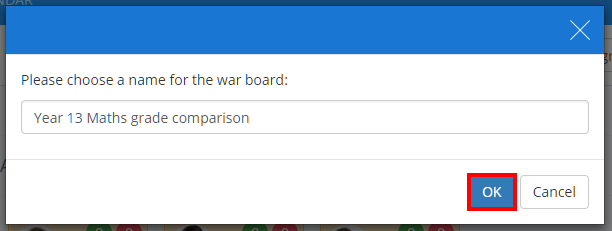
The War Board will now be present in the My boards section of the War Boards page.