If you school is integrated with a supported MIS, Class Charts will automatically pull through and display your school’s classes. If your school is not integrated however, you will need to create the classes manually.
To manually add a new class, click on the Classes tab along the top of the page.
![]()
You will be presented with a list of your school’s currently applied classes. Click on the Add class button to create a new class.
![]()
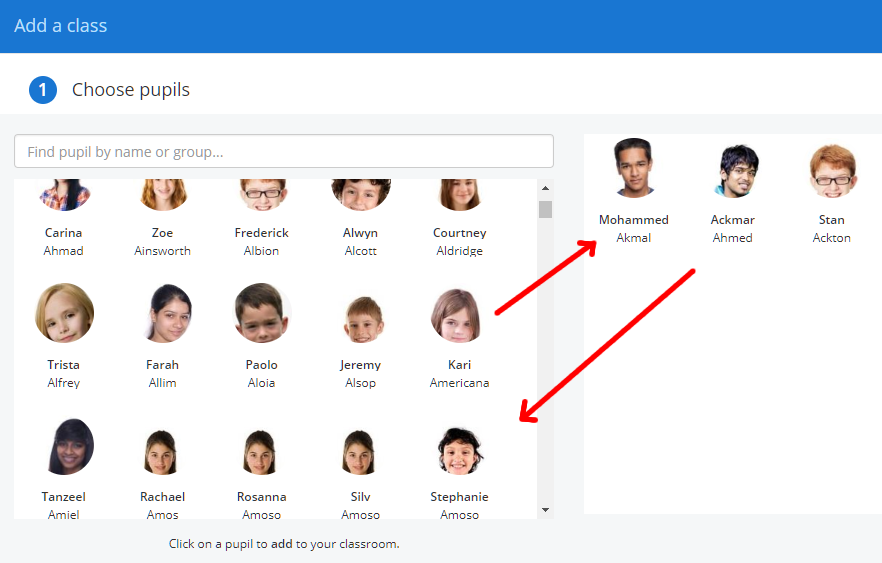
The Add a class popup will appear.
To add pupils to the class, search for the pupils of your choice and click on their photo in the Choose pupils section. They will appear in the space to the right, indicating that they have been successfully added.
To remove a pupil from the class, click on their photo in the space to the right. They will then return to the Choose pupils section.
To rename your class, enter the name of your choice into the Name your class section below the pupil list.

To represent your class with a unique icon, select the icon of your choice from the Choose an icon section.
![]()
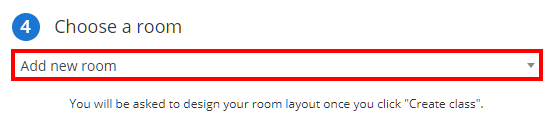
To apply a room to the new class, select a room from the Choose a room drop down menu. If Add new room is selected, you will be redirected to the Add a new room page.
Once you are happy with your selections, click on the Create class button to finish adding the class manually.
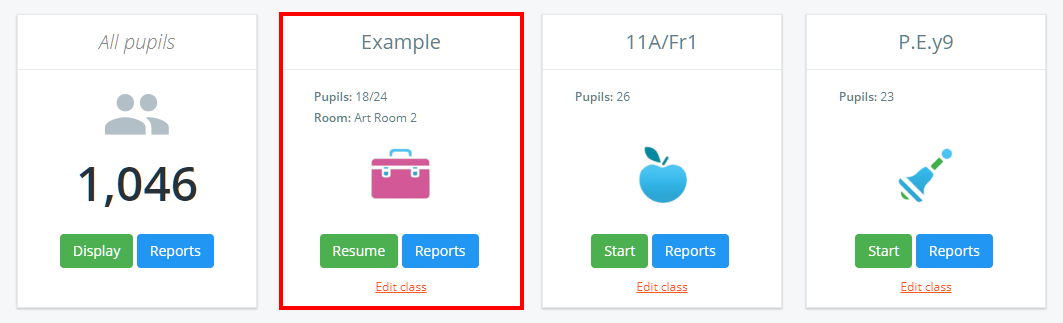
The newly created class will now appear on the Classes page along with any previously created classes.