If enabled by your school admin, Class Charts allows you to display the custom fields of your choice for each class.
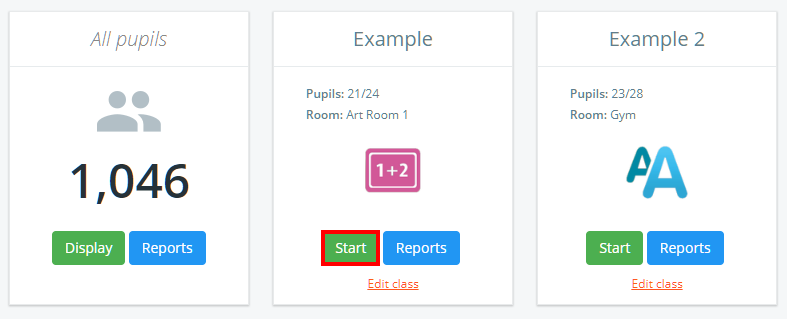
To choose which custom fields should be displayed for a particular class, click on the Classes tab along the top of the page.
![]()
Next, click on the Start button for the class of your choice.
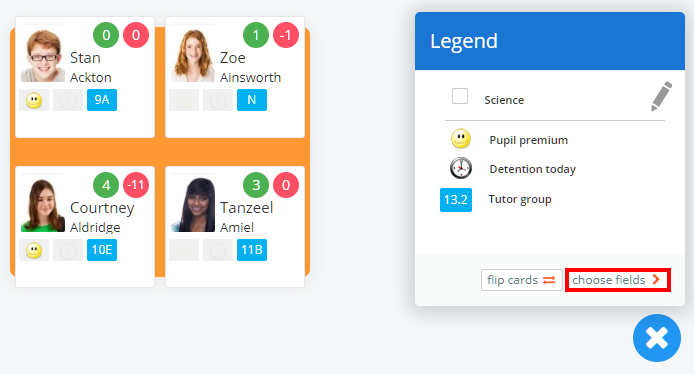
Click on the i icon in the bottom right hand corner of the class to bring up the custom fields legend.
![]()
The legend will be visible, explaining which custom fields are currently being represented on the pupil cards. To change which custom fields are displayed in the class, click on the choose fields button.
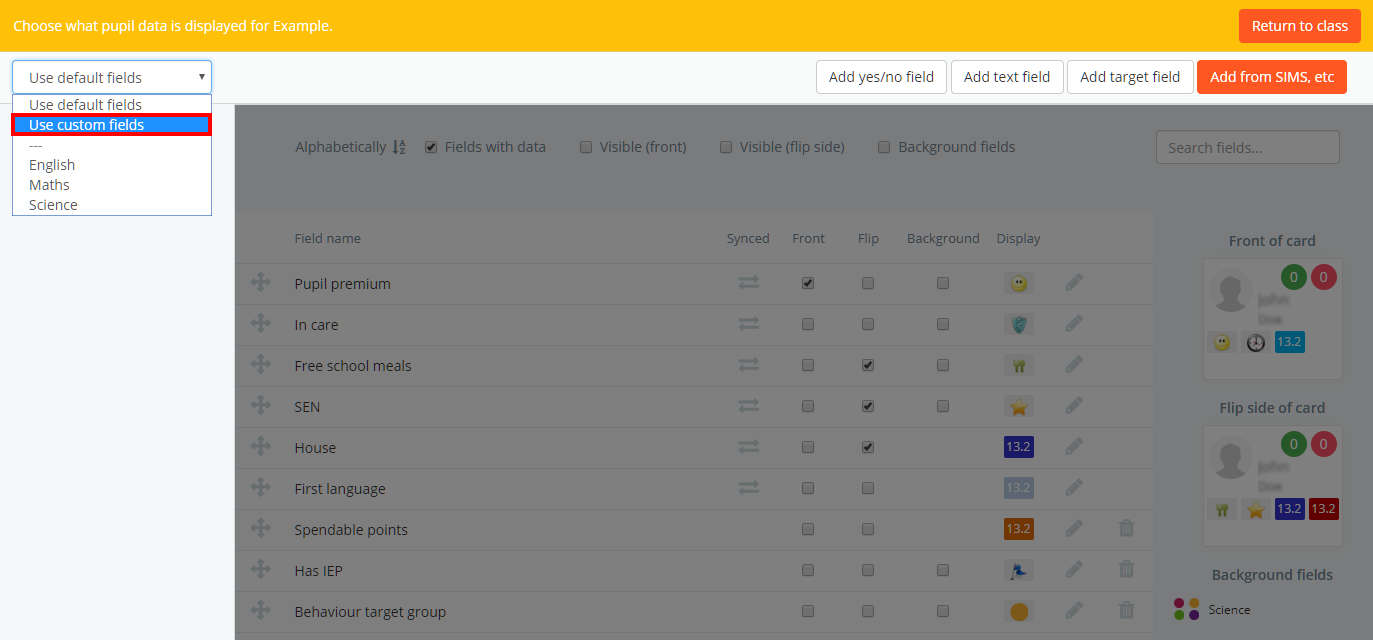
The custom field selection page will appear. Click on the drop down menu and select Use custom fields.
Select additional custom fields from the list by ticking and unticking the available fields.
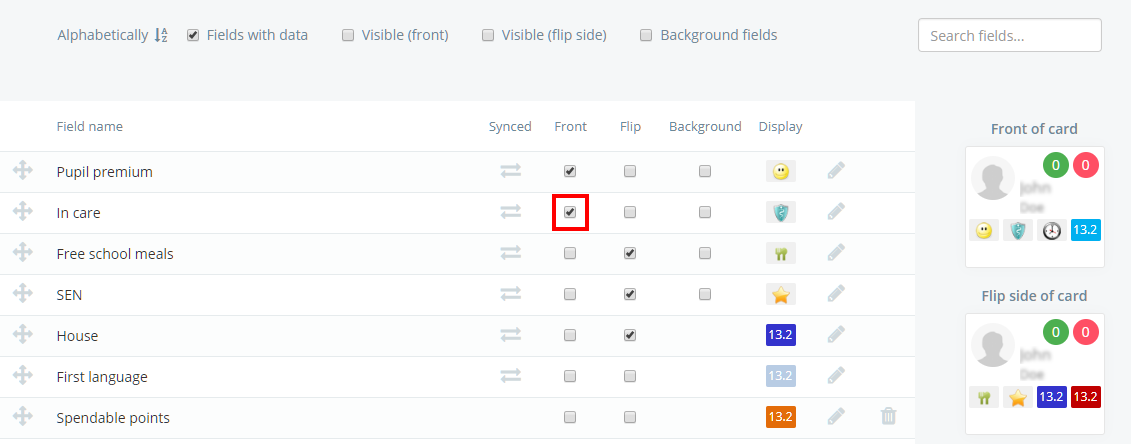
Once you have finished selecting custom fields, click on the Return to class button to go back to the lesson.
![]()
The selected custom fields will appear on the pupil cards and the custom field legend will be updated accordingly.

If you find yourself adding the same custom fields to multiple classes, you may find it useful to set up a custom fieldset.