When setting up custom fields in Class Charts, you may wish to ensure that certain custom fields are applied to all classes.
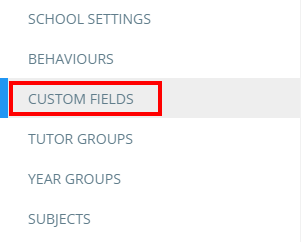
To set custom fields as default, click on the three lines menu in the top right hand corner of the page and select Custom fields from the list of available options.
![]()
You will be presented with a list of custom fields that have been set up in your school’s Class Charts account. To include a custom field in every class by default, tick one of the checkboxes in the field’s row. The available options are explained below:
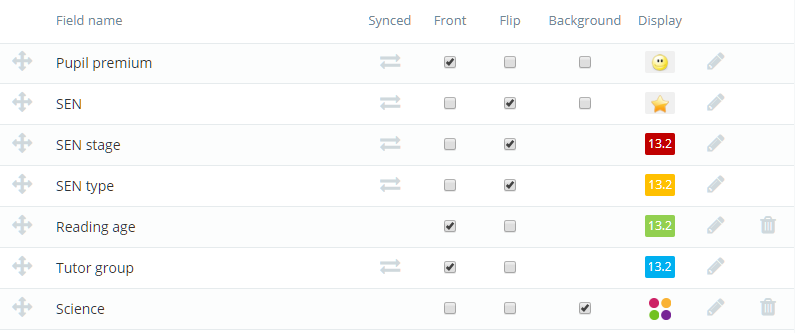
Front: Tick this checkbox to include the field on the front of pupil cards in class.
Flip: Tick this checkbox to include the field on the back of pupil cards in class.
Background: Tick this checkbox to include the field as a highlighted background for pupil cards in class.
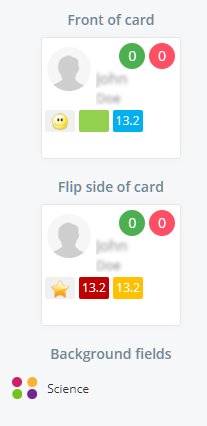
When custom fields are ticked, a preview of their position on a typical pupil card can be seen to the right of the custom fields list.
How to filter the selected custom fields
If your school’s custom field list is quite long, you may wish to only see fields that have been selected. To filter the list by selected custom fields, tick one of the three check boxes that appear above the list.
![]()
The custom fields list will now be filtered by the chosen check box.
