There may be times when you’d like to check if a class is meeting their individual targets grades. Class Charts allows you to set up a RAG target field which colour codes pupils that are below, meeting and above their target grades.
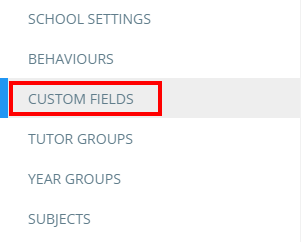
To set up a target field, click on the three lines menu in the top right hand corner of the page and select Custom fields from the list of available options.
![]()
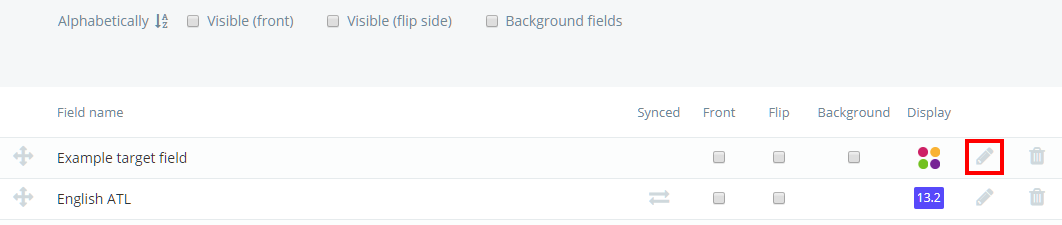
You will be presented with a list of custom fields that have been set up in your school’s Class Charts account. Click on the Add target field button to start creating a new target field.

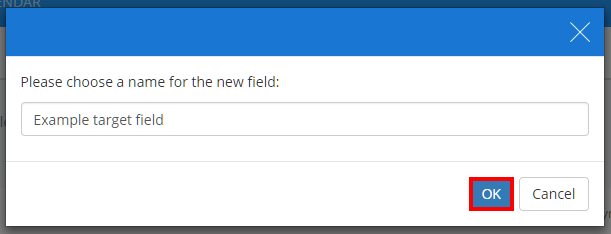
Enter a name into the resulting popup and click on the OK button.
The target field will appear in the custom fields list. Click on the pencil icon to define how the target field should work. The available options are explained below:
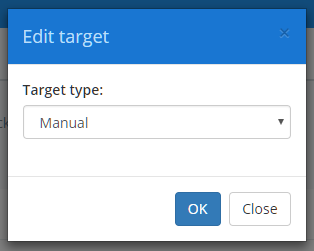
Manual
If you would like full control over which colour is displayed for each pupil, select Manual from the drop down menu.
Next, ensure that the target field has either been set to Front or Flip.

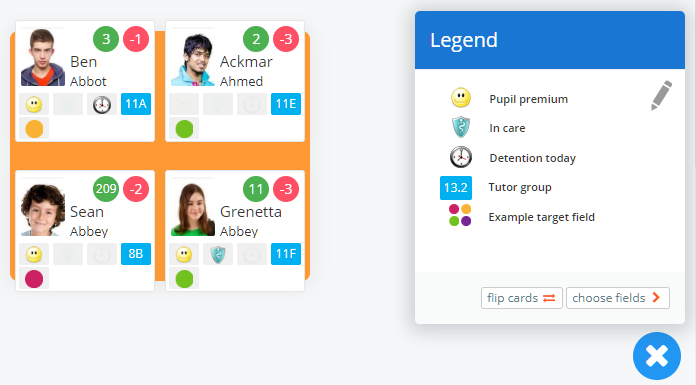
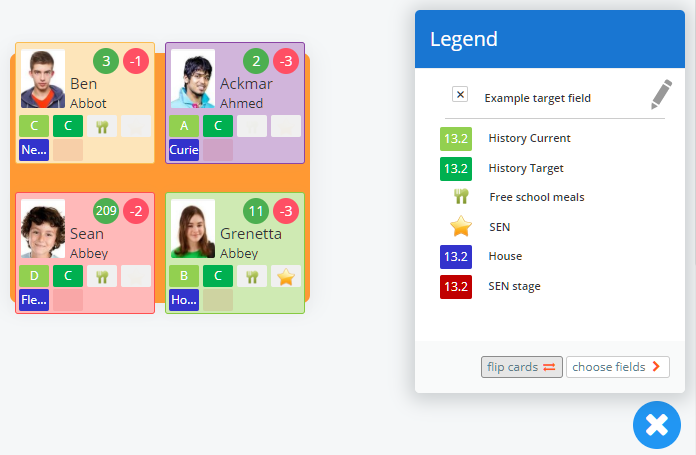
When the target field is displayed in class, it will appear as a coloured circle on the pupil cards. Click on the pencil icon in the custom fields legend to edit the target field for each pupil.
Automatic (compare grade with target)
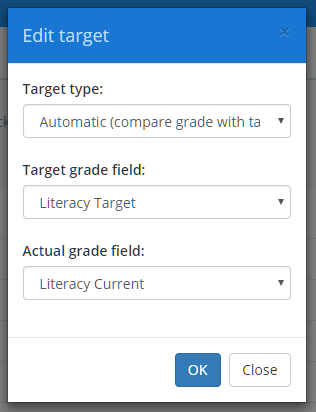
If you want to compare a pupil’s current grade to their own target grade, select Automatic (compare grade with target) from the drop down menu.
You will be prompted to select which custom fields should be compared with each other. Select the fields of your choice and click on the OK button to save your changes.
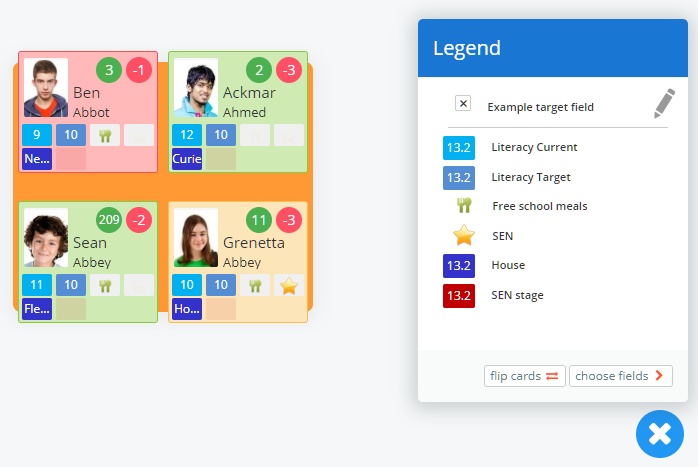
If you would like the RAG comparison to be visible on pupil card backgrounds, tick the Background checkbox.

When the target field is displayed in class, pupils will display a RAG colour based on how their current grade compares to their target grade.
Compare with boundary preset
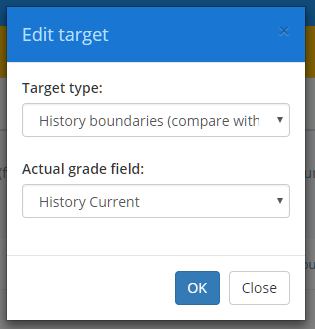
If you want to compare a pupil’s current grade to a target boundary preset, select a Compare with boundary preset option from the drop down menu. You will need to set up a target boundary preset in order to select this option.
You will be prompted to select which custom field should be compared against the preset. Select the field of your choice and click on the OK button to save your changes.
If you would like the RAG comparison to be visible on pupil card backgrounds, tick the Background checkbox.
When the target field is displayed in class, pupils will display a RAG colour based on how their current grade compares to the target boundary preset.
RAG colours explained
Red: The pupil is currently below target.
Yellow: The pupil is currently at target.
Green: The pupil is currently above target.
Purple: The pupil is currently exceeding target.