Class Charts allows you to apply custom fields to your War Boards.
To start adding fields to your existing War Boards, click on the three lines menu in the top right hand corner of the page and select War Boards from the list of available options.
![]()
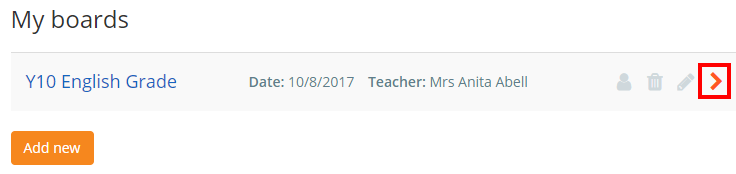
Next, click on the arrow icon next to the War Board that you would like to view.
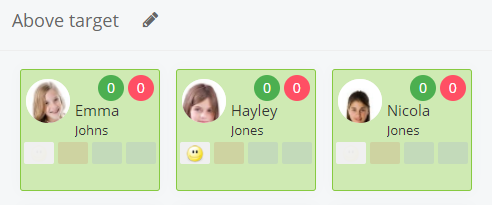
This will take you to the War Board. For each pupil card in the board, you will see spaces available for displaying field information.
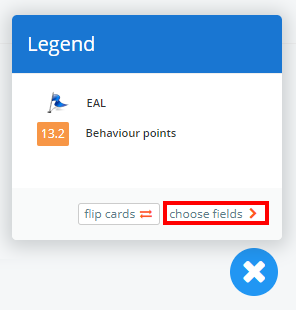
To choose which fields to display on your War Board, click on the legend button in the bottom right hand corner of the page.

This will open up the legend that indicates the data that each field represents. Click on the choose fields button.
You will be taken to the custom fields page for your War Board. Select an option from the drop down menu in the top left corner of the page to change the fields that are displayed on the board. Each option is explained below:
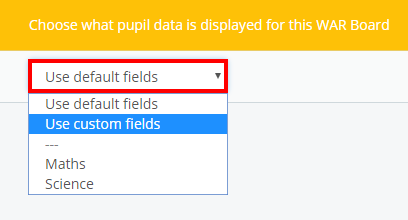
Use default fields
This is the default option for each War Board. It will display the default fields that have been set up by your school administrator.
Use custom fields
Selecting this option will allow you to choose each individual field that appears on each pupil card in the War Board.
Custom field sets
Below the dotted line you may see some additional field options. If you have set up custom fieldsets in your school, you can apply them to your War Board.
Once you have made your choice, click on the Return to war board button to save your changes.
![]()