There may be times when staff members will want to add new rooms to the available list in Class Charts.
There are three different methods of creating a new room in Class Charts:
Creating a room from three lines menu
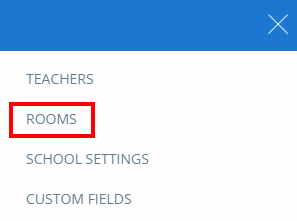
To create a new room from anywhere in Class Charts, click on the three lines menu in the top right hand corner of the page and select Rooms from the list of options.
![]()
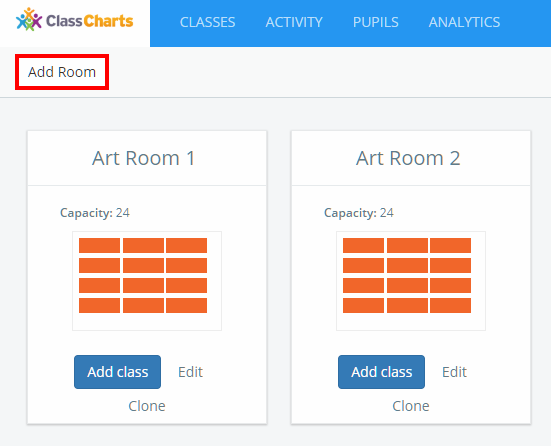
You will be presented with a list of rooms that have been set up in your school’s Class Charts account. Click on the Add Room button above the list to begin creating a new room.
Creating a new room from the Classes page
You can also create a new room when editing details for a class.
To do this, click on the Classes tab along the top of the page and click on the Edit class button for the lesson of your choice.
![]()
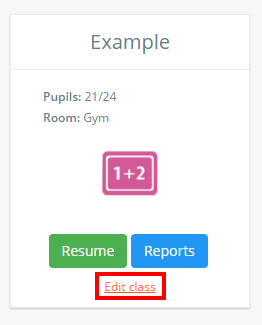
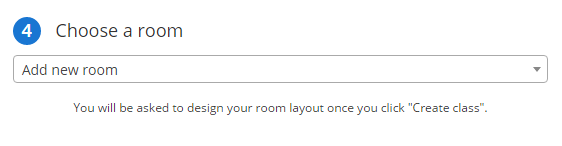
The Edit class popup will appear. Click on the Select current room drop down menu and select Add new room from the list of available options.
Creating a room from within a class
You can also create new rooms when you are taking a class.
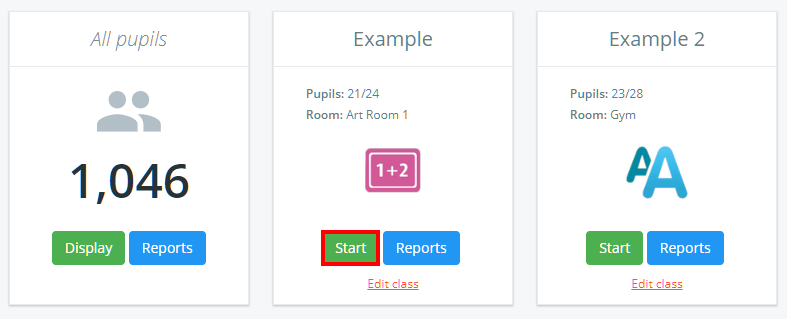
To do this, click on the Classes tab along the top of the page and click on the Start button for the lesson of your choice.
![]()
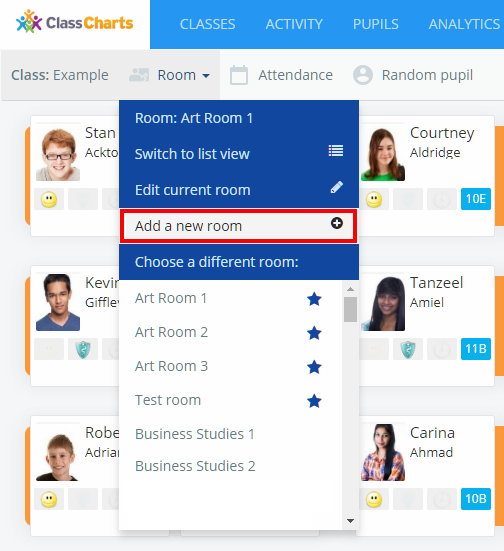
You will be presented with the class view page for your selected lesson, where pupils are displayed in their current seats.
Click on the Room tab and select Add a new room from the list of available options.
Creating a new room
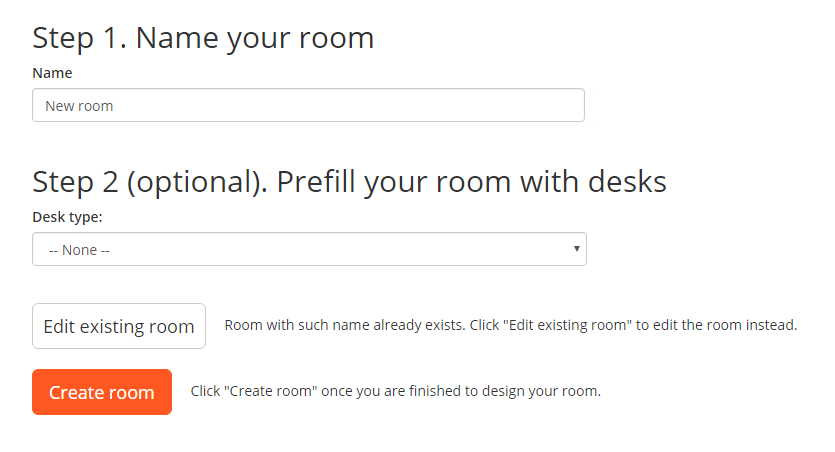
After following any of these methods, you will be directed to the Add new room page. Enter a name for the new room and optionally prefill the room with desks. Selecting to prefill the room with desks will allow you to add single or double desks in as many rows and columns as you wish.
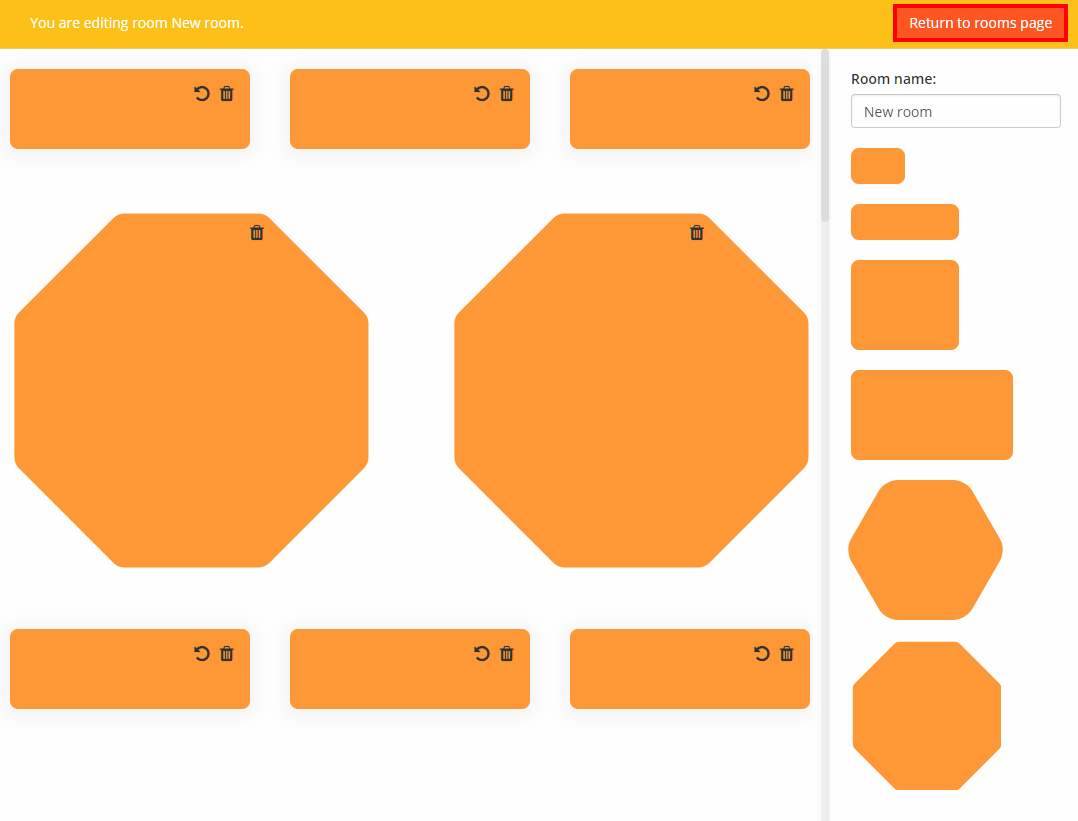
The Edit room page will be displayed, allowing you to make changes to the desk layout.
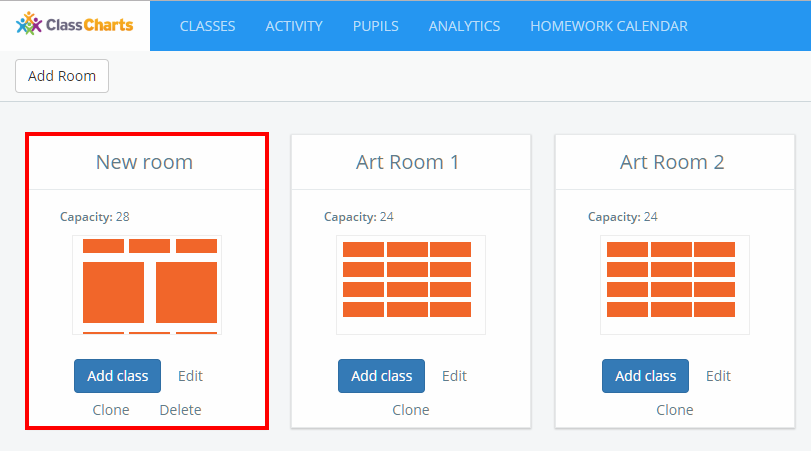
Once you’re happy with your new room layout, click on the Return to rooms page button to save your changes.
The new room will now be present in the list of rooms.