Please note: Attendance Events are currently in pilot.
Class Charts lets you automatically track when pupils have met specific attendance criteria, such as a pupil’s attendance falling below a certain percentage, or if they were late a certain number of times within a time frame.
Please Note: This feature is only available to School Admins.
To create a new attendance event, click on the Analytics tab along the top of the page.
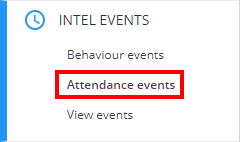
Next, select Attendance Events from the navigation menu on the left hand side.
You will be presented with the Set up attendance events page, along with any attendance events that have been set up in your school.
To create a new attendance event, click on the Add attendance event button.
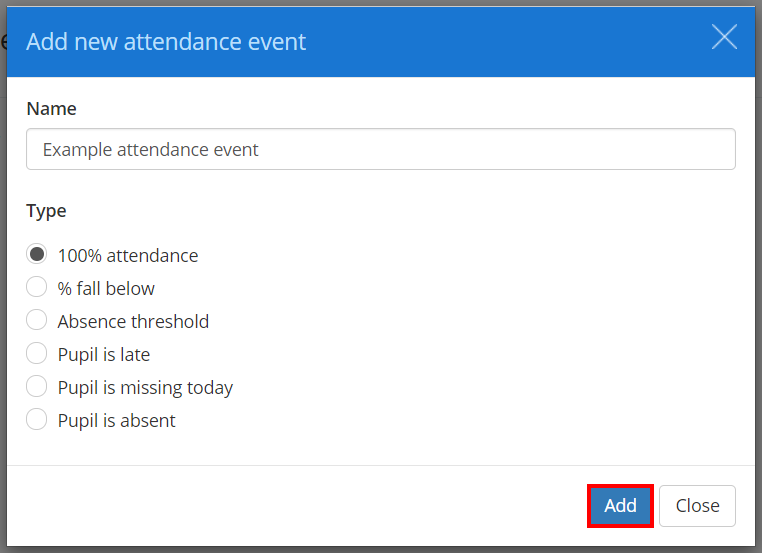
A popup will appear, asking you to name your attendance event and select an event type. Click on the Add button to being defining your attendance event.
Each attendance event type is explained in more detail below:
100% attendance
This attendance event tracks if a pupil has full attendance marks in either session or lesson periods, for the time frame of your choice.
% Fall below
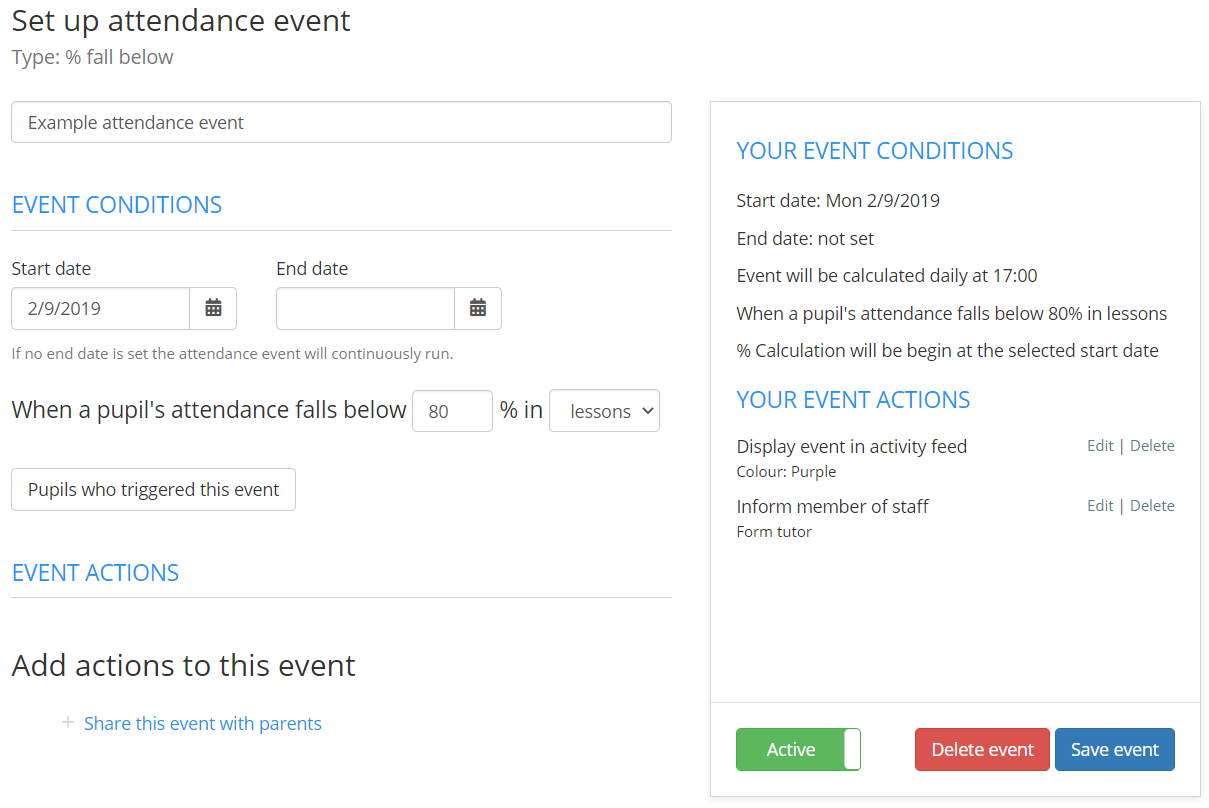
This attendance event tracks if a pupil’s attendance falls below a specific percentage in either session or lesson periods per day, for the time frame of your choice.
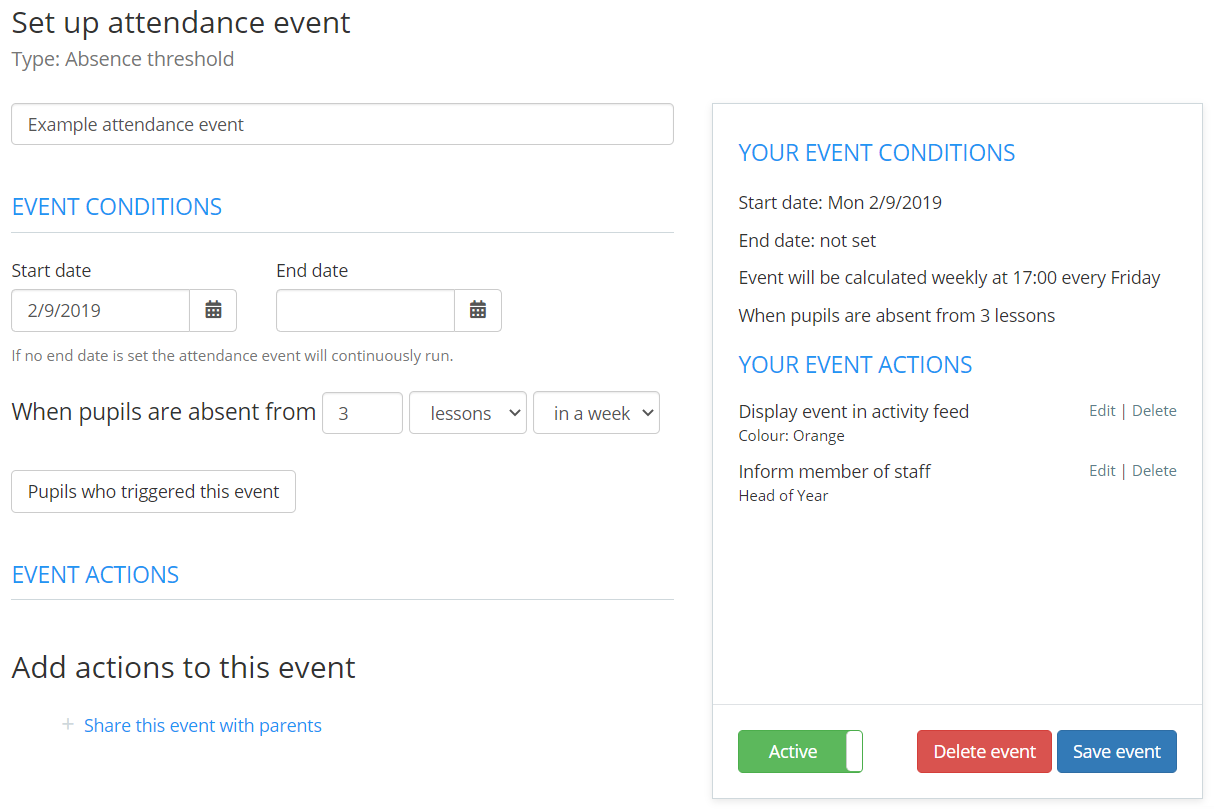
Absence threshold
This attendance event tracks if a pupil has a certain amount of unauthorised absences in either session or lesson periods, over the time frame of your choice.
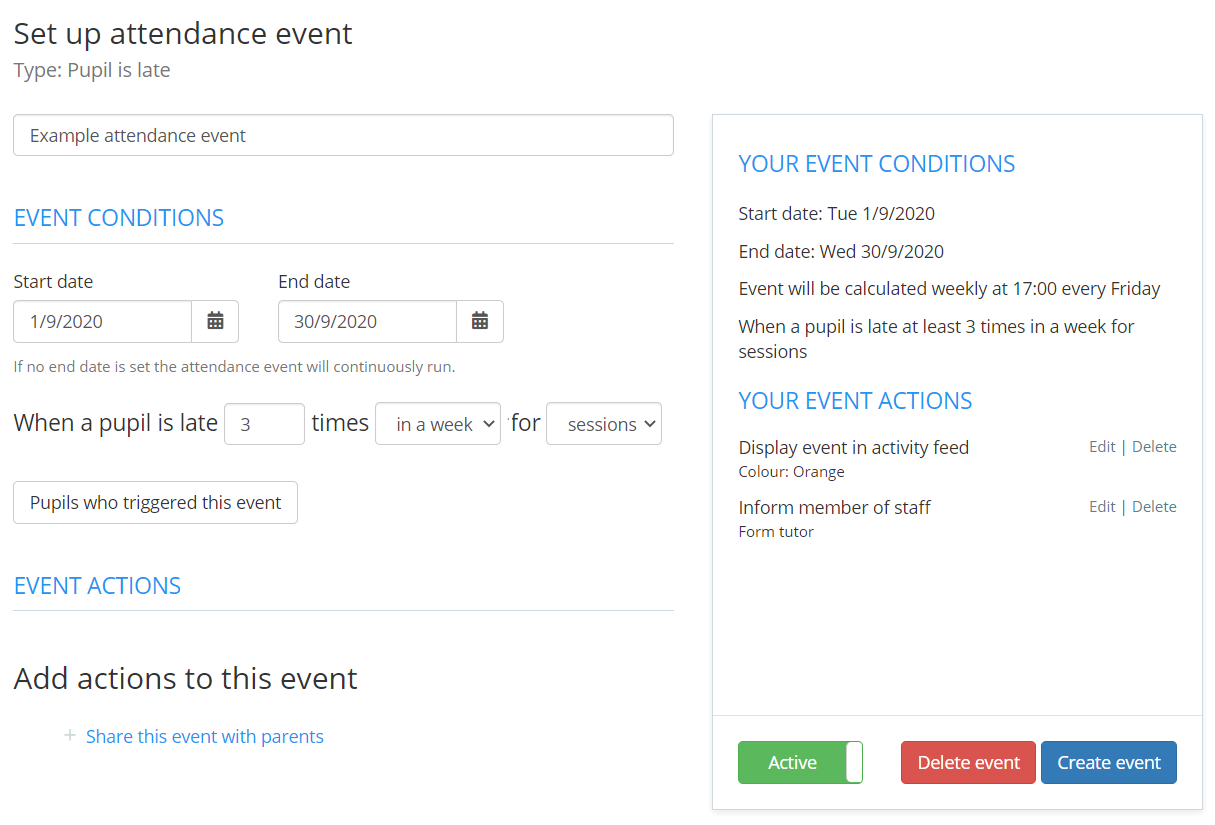
Pupil is late
This attendance event tracks if a pupil has a certain amount of Late marks in either session or lesson periods, over the time frame of your choice.
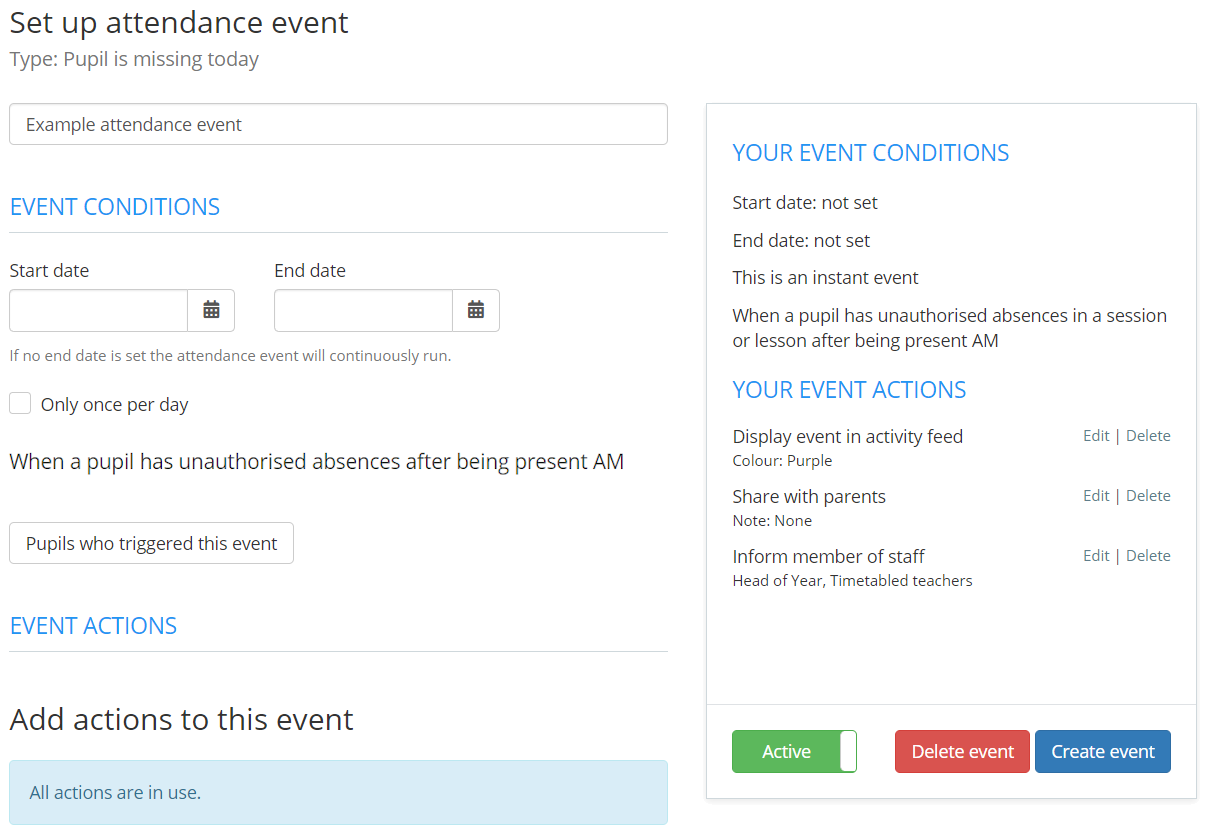
Pupil is missing today
This attendance event tracks if a pupil has unauthorised absences later in the day if they were marked as present in the AM session. Both the PM session and lesson periods are taken into account.
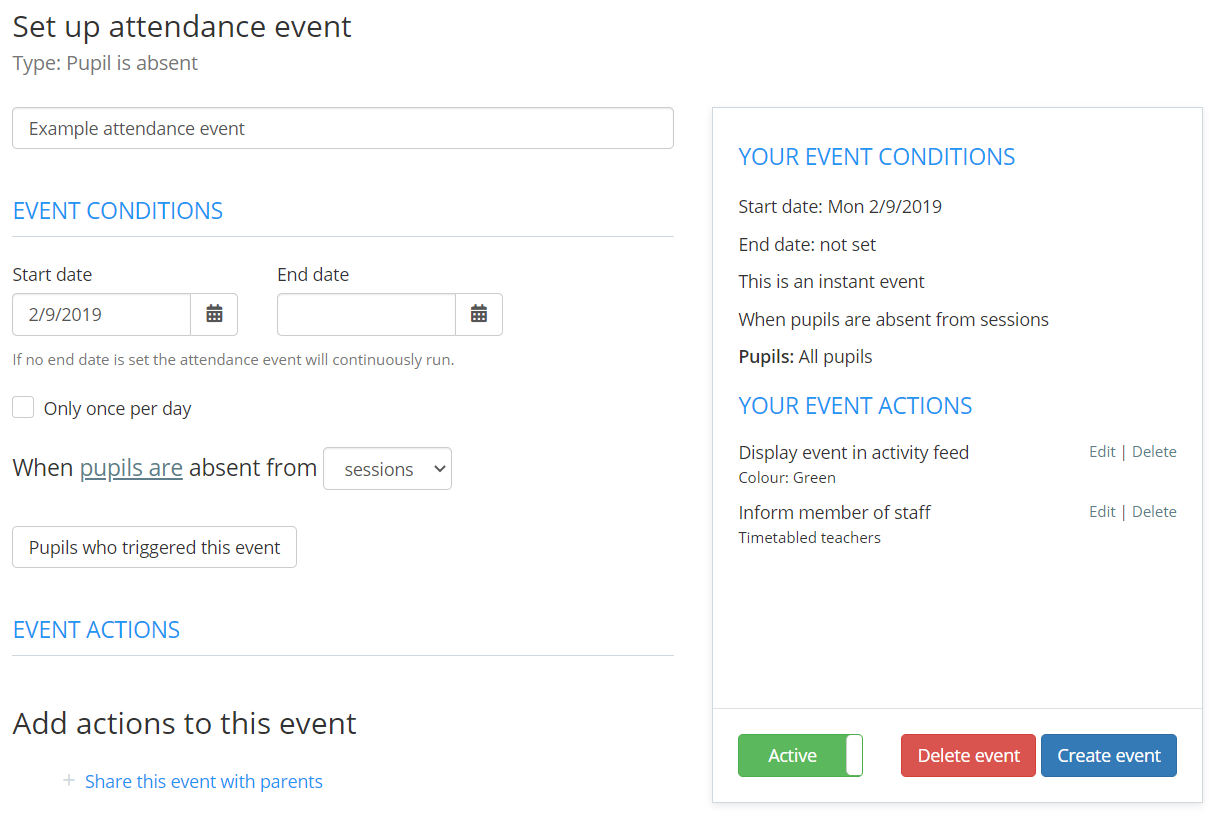
Pupil is absent
This attendance event tracks if the pupils of your choice have any unauthorised absences in either session or lesson periods, as soon as the absence occurs.
Defining the attendance event
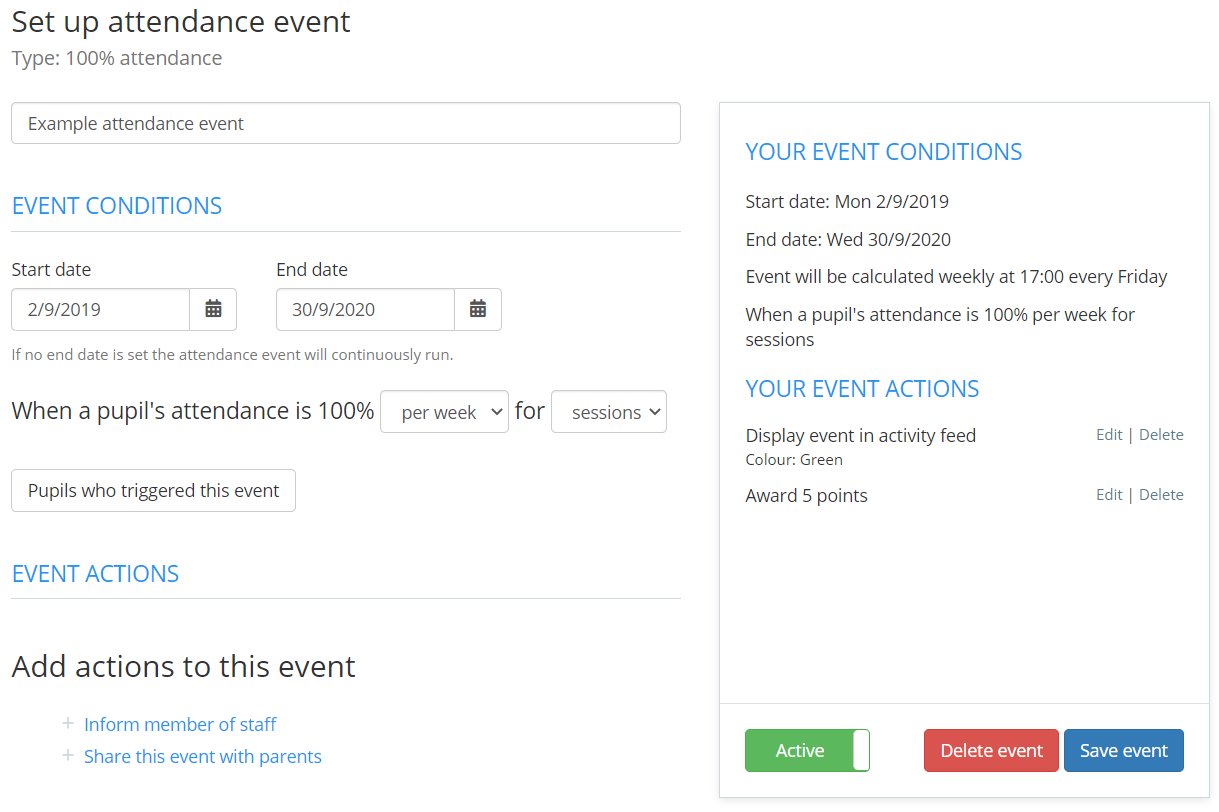
Once you have picked the attendance event type of your choice, you will be redirected to the Set up attendance event page, where you can define how your attendance event should work.
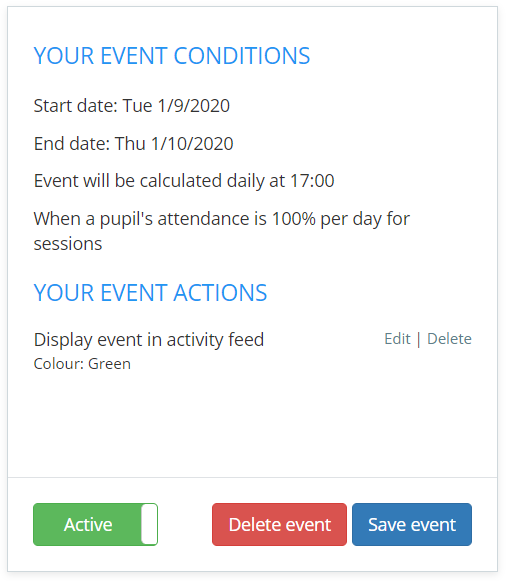
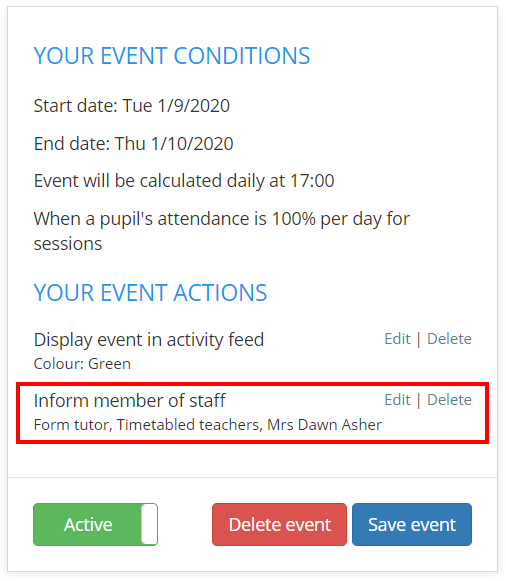
A summary of the attendance event so far will be displayed on the right hand side of the page.
Specifying start and end dates
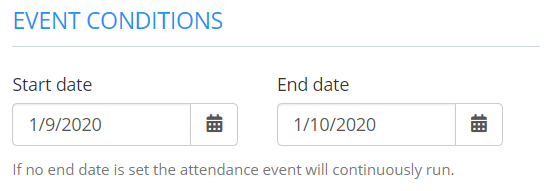
The first section of the attendance event allows you to set how long the event will run for. Click on the Start date and end Date fields to select appropriate dates.
If the End date field is left blank, the attendance event will run on continuously until you make the event inactive.
Specifying the criteria that will trigger the attendance event
Next, select the criteria that need to be met by pupils in order for the attendance event to trigger.
Most attendance event types allow you to choose between tracking session and lesson attendance.
Some attendance events will also allow you choose the time interval between event calculations, such as daily, weekly, monthly and overall. If overall is selected, you must specify an end date.
Adding actions to the attendance event
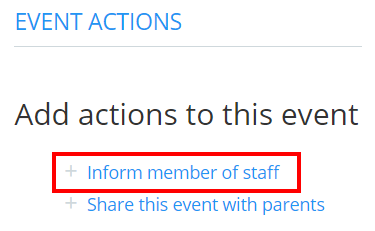
Once the core criteria of the attendance event have been defined, you can then define what will happen when the event is triggered by a pupil.
Click on an action option to include it in the attendance event. Available actions vary between attendance event types.
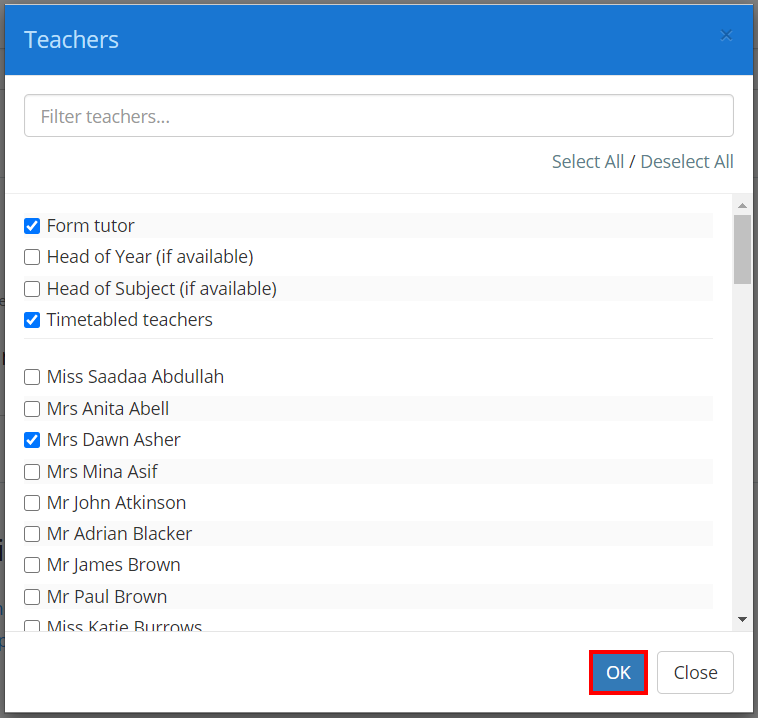
A popup will appear, allowing you to choose the exact actions for the event. Click on the OK button once you have made your selections.
The new action will now be present on the attendance event Summary box on the right hand side of the page.
The action can be edited further or removed at any time, by clicking on the respective Edit and Delete buttons.
Activating the attendance event
Once you’re happy with the way the attendance event has been set up, it can be saved and activated.
Click on the Inactive button in the Summary box to set the event to Active. This means that the attendance event can now be triggered by pupils.
To save the attendance event, click on the Create event button in the Summary box .
A popup confirmation will appear, indicating that the attendance event has been saved.
Click on the Return to list button to leave the page and go back to the list of attendance events.


