To set up a target boundary preset, click on the three lines menu and select Custom fields from the list of available options.
![]()
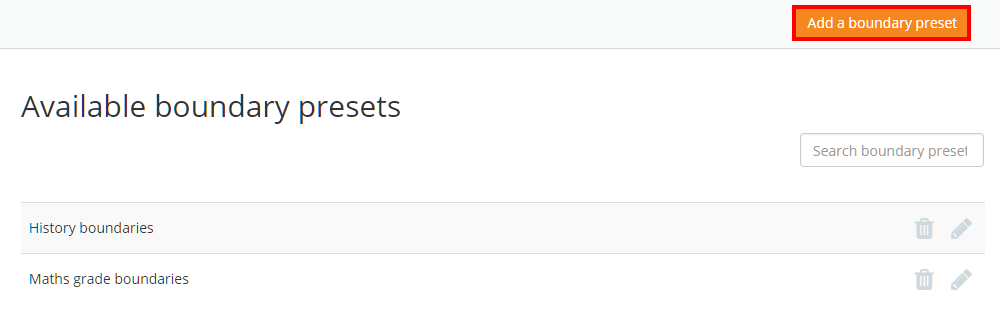
You will be presented with a list of boundary presents that have been set up in your school’s Class Charts account. Click on the Add a boundary preset button to create a new preset.
You will be prompted to name the new preset. Enter a name and click on the OK button.

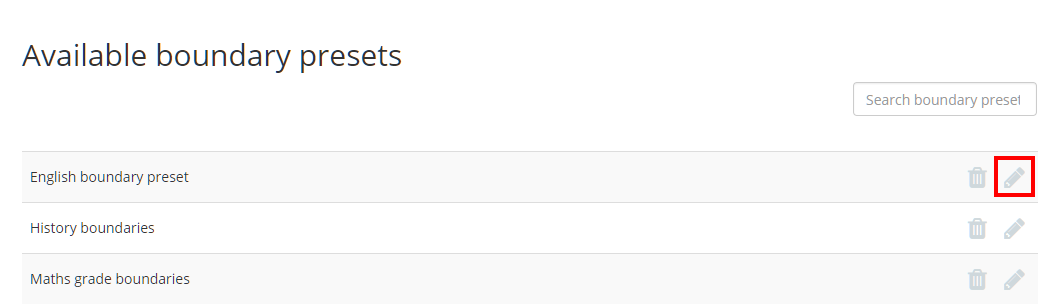
The new preset will be added to the Available boundary presets list. Click on the pencil icon to start defining its boundaries.
The Edit target boundary preset popup will appear. Enter the appropriate custom field values into each boundary category as you see fit. To include multiple custom field values in the same boundary category, separate the values with commas (e.g 1,2,3).
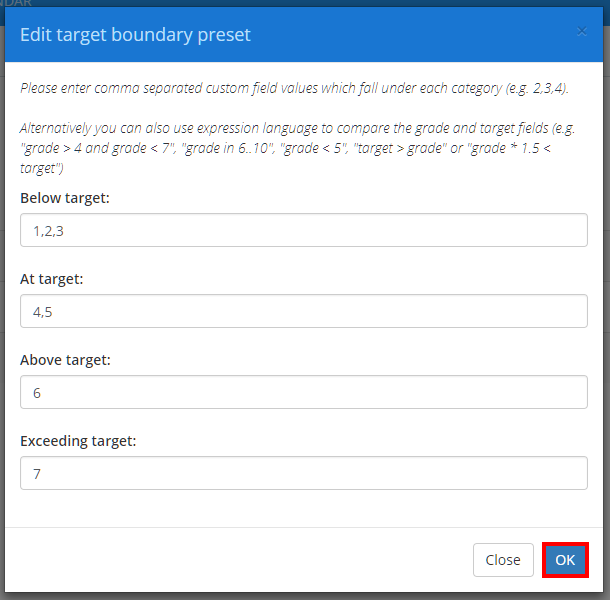
There are three supported methods of representing grade values:
Numerical values: 1, 2, 3, etc
Letter values: A, B, C, etc
Value comparison: The words grade and target can be used as placeholders for the pupil’s current grade and target grade respectively.
Once you are happy with the target boundary preset, click on the OK button to save your changes. The boundary preset can now be applied to a target field.