There may be times where it is necessary to place a pupil on report, so that teachers can monitor and record a specific aspect of their behaviour.
Class Charts allows you to do this with the On-Report Cards module.
Enabling On-Report cards
Before On-Report cards can be used, the module needs to be enabled.
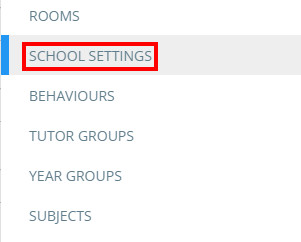
To enable On-Report cards for your school’s Class Charts account, click on the three lines menu in the top right hand corner of Class Charts and select Schools settings from the list of available options.
You will be presented with a list of settings that control the modules for your school’s Class Charts account. Set On-Report Cards to Enabled.
Setting up an On-Report card
To set up a new On-Report card, click on the Pupils tab along the top of the page.
You will be presented with a list of pupils that are currently enrolled at your school. Click on the expand icon in the On-Report column for the pupil of your choice.
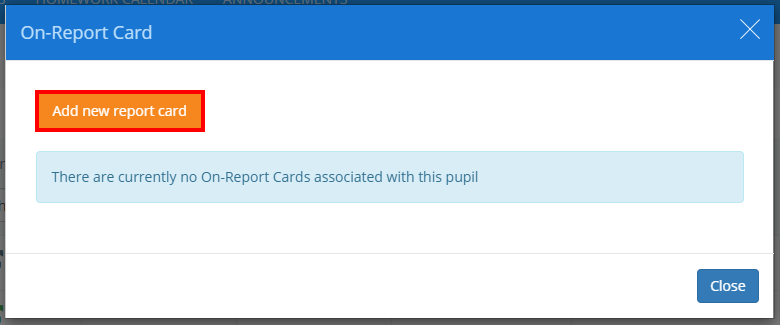
The On-Report Card popup will appear, displaying any On-Report cards that have currently been assigned to the pupil. Click on the button labelled Add new report card.
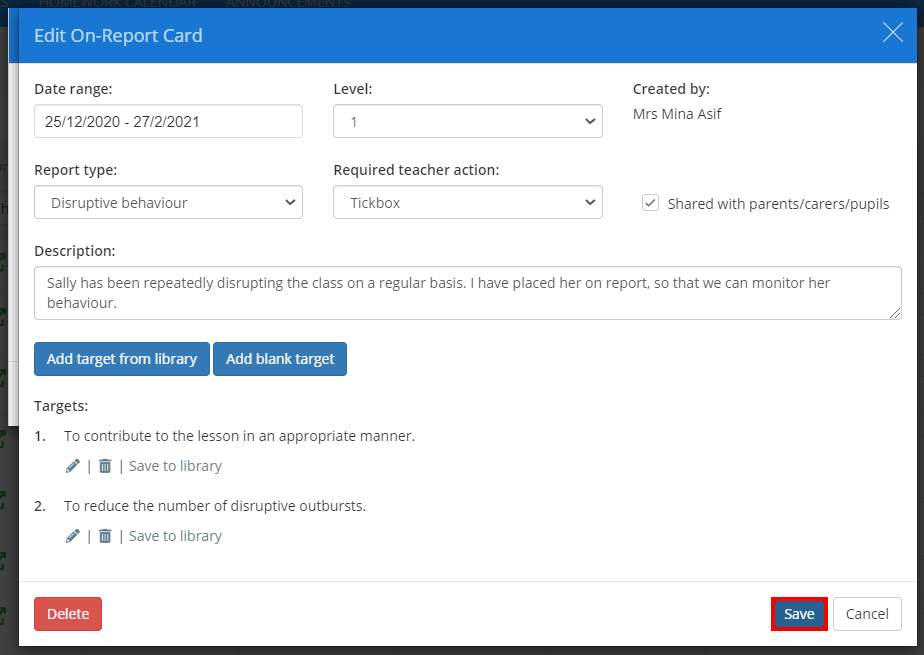
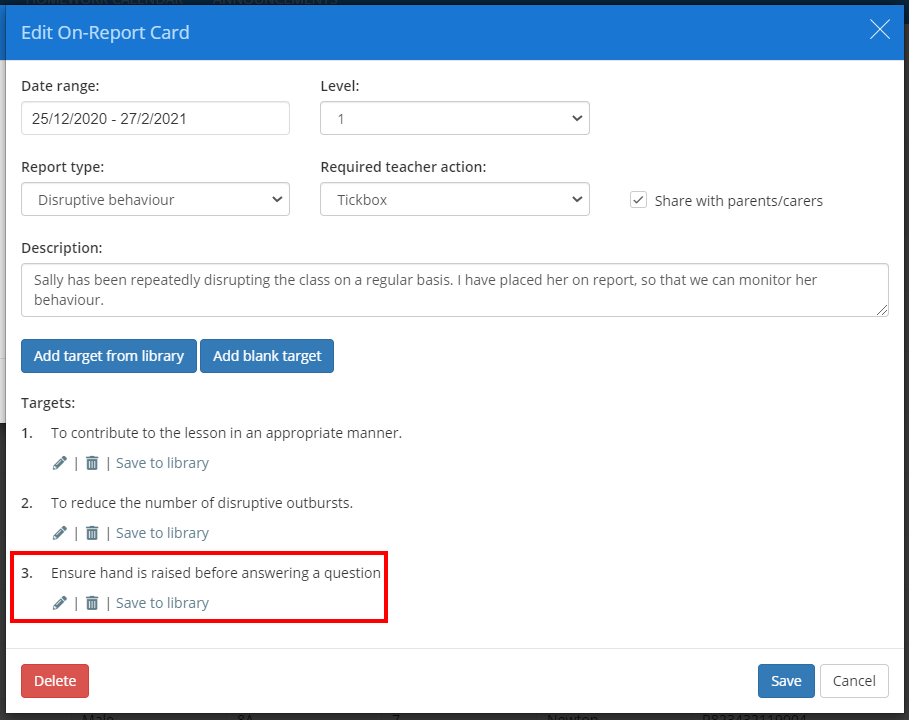
The Edit On-Report Card popup will appear. Enter the details of the On-Report card into the fields provided and click on the Save button to continue. The available fields are explained below:
Date range: The time frame that you would like the report card to be active for.
Level: The urgency level of the On-Report card.
Created by: The staff member that made this specific On-Report card.
Report type: The category that this On-Report card falls under. To find out more about setting up report types, please click here.
Required teacher action: What the teacher will need to do in order to update the On-Report card. This can either be a 1-5 ranking system, or ticking a checkbox.
Share with parents / carers: Tick this checkbox to allow parents / carers to view the On-Report card.
Description: A brief summary on why the On-Report card is being used.
Targets: The criteria that will be used to determine whether or not the On-Report card has been successful. These are added through the Add blank target button.
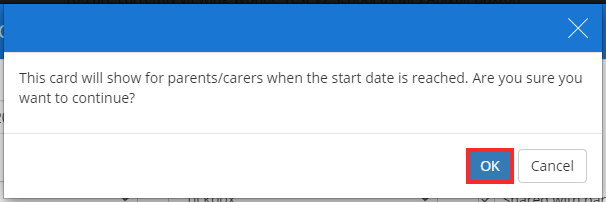
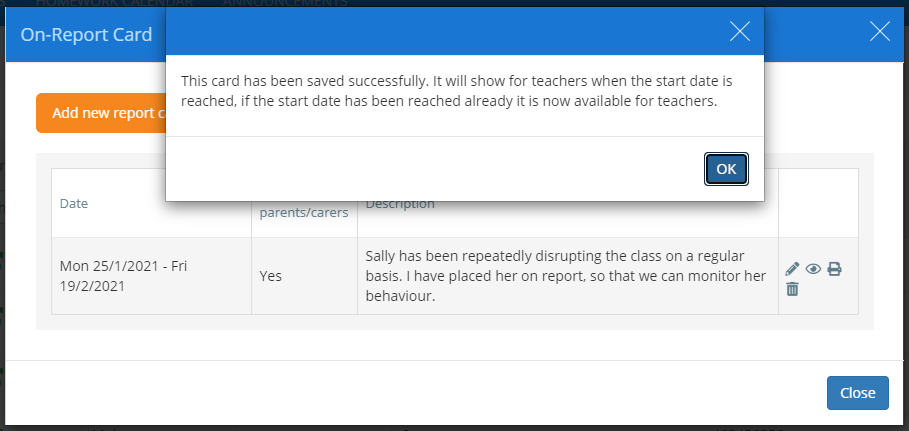
If Share with parents / carers is ticked, a confirmation popup will appear to remind you that the On-Report card will be shared to parent accounts once the start date has been reached. Click on the OK button to continue.
A confirmation popup will appear, indicating that the On-Report card was successfully created. The new On-Report card will be displayed in the On-Report Card popup.
The expand icon on the pupil details page will now appear in green, to indicate that the pupil has an On-Report card.
Editing an On-Report Card
To make changes to an existing On-Report card, click on the Pencil icon for the card of your choice
The Edit On-Report Card popup will appear, allowing you to make changes. Click on the Save button once you have finished editing the On-report card.
Viewing an On-Report card’s progress
As On-Report cards are updated by teachers at your school, you can view progress as it is made.
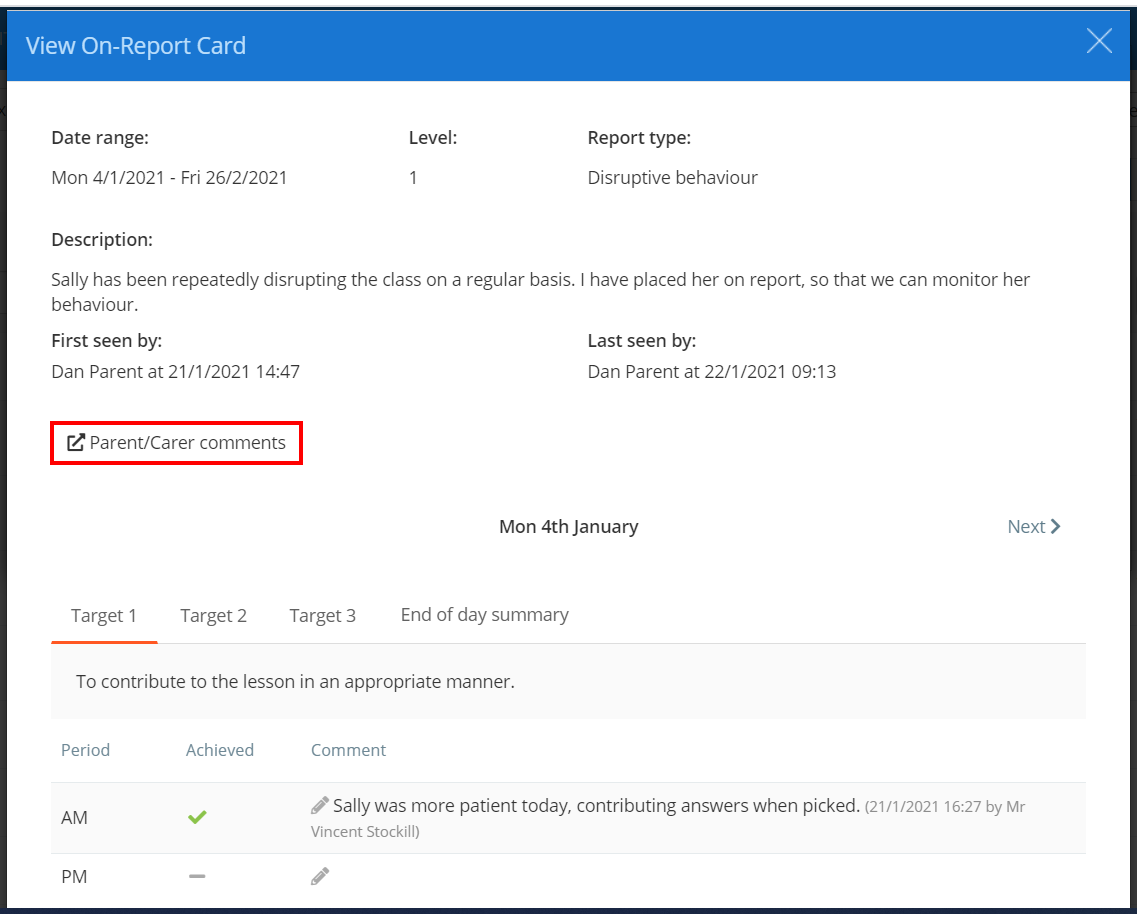
To view an On-Report card in more detail, click on the eye icon for the card of your choice.
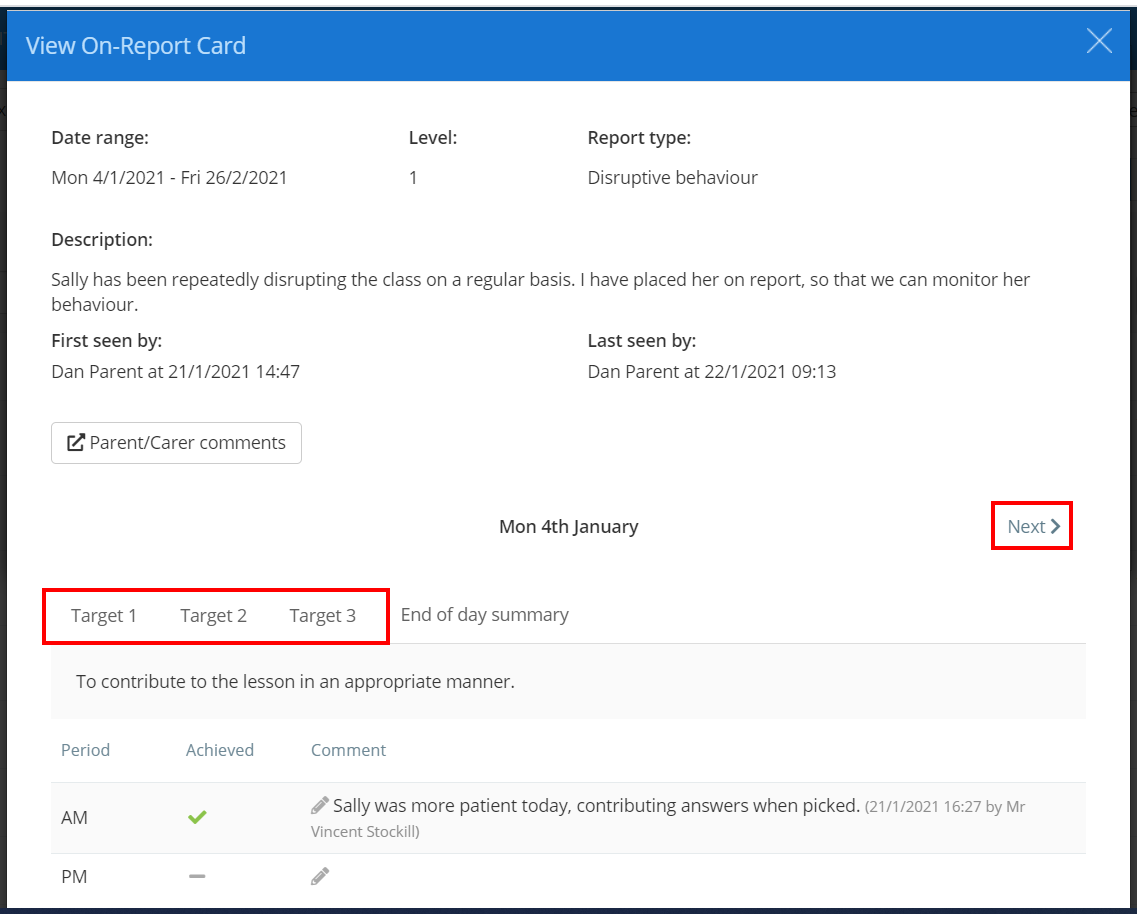
The View On-Report Card popup will appear, displaying a summary of the On-Report card and any updates that have been made by staff members.
To cycle through each date that the On-Report card covers, click on the Next and Previous buttons.
To cycle through each assigned target for the On-Report card, click on the tabs labelled Target.
In addition to the displayed targets, you will also have the option of leaving an end of day summary of the pupil’s progress. To leave an end of day summary comment, select the End of day summary tab and click on the pencil icon.
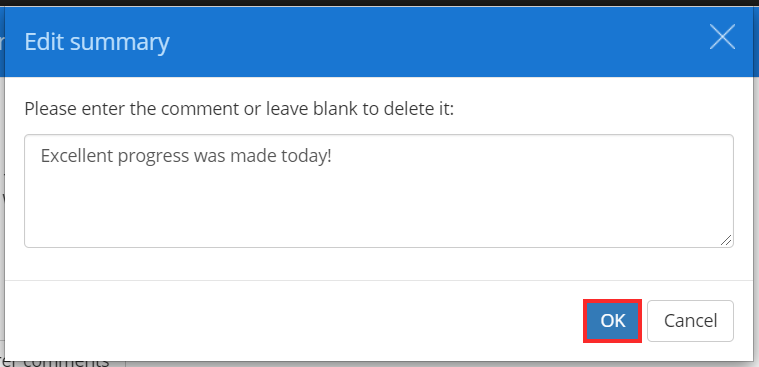
The Edit summary popup will appear. Enter the comment of your choice into the text area provided and click on the OK button to continue.
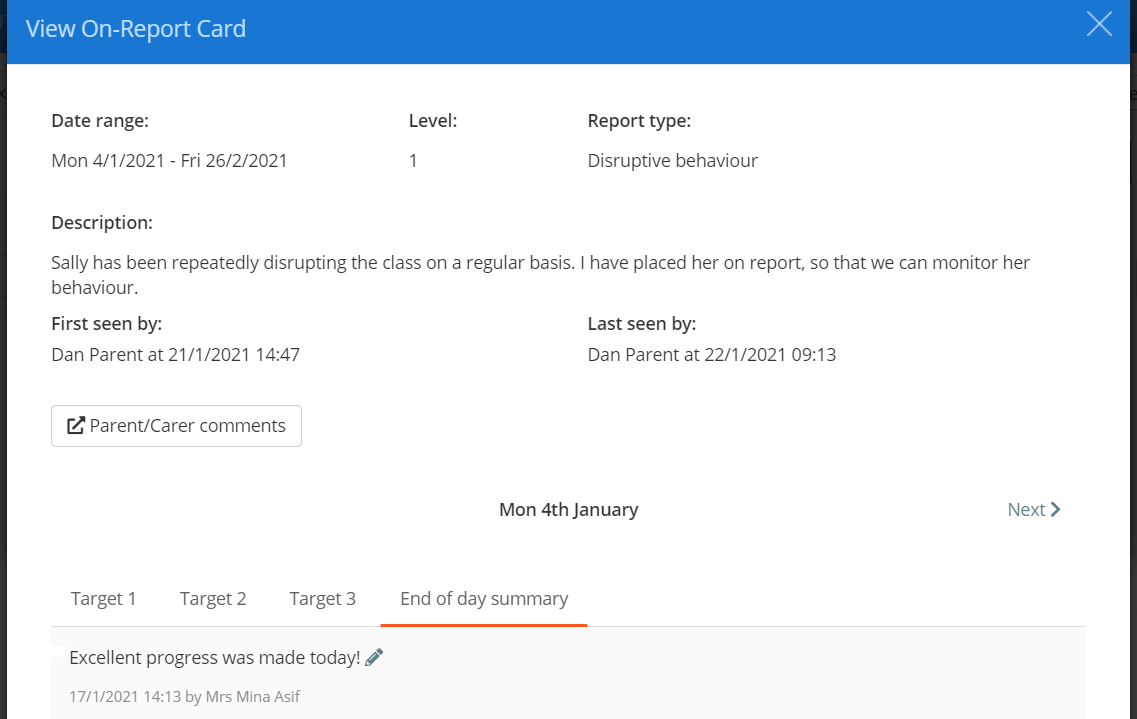
Your comment will now appear within the End of day summary tab.
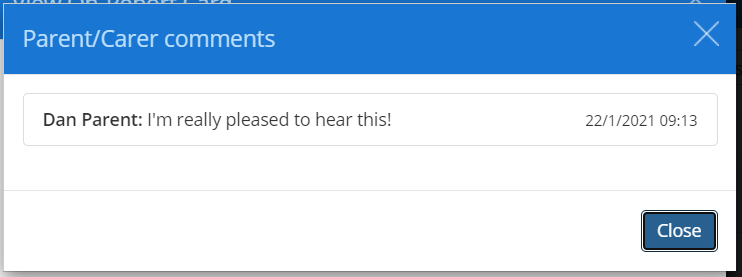
If the On-Report card has been shared with parents, you are able to view comments that parents have made.
To do this, click on the button labelled Parent / Carer comments.
The Parent / Carer comments popup will appear, listing all parental comments that have been made for the selected On-Report card.
Deleting an On-Report card
To delete an On-Report card, click on the bin icon for the card of your choice.
A confirmation popup will appear. Click on the OK button to confirm the deletion.
The On-Report card will be successfully deleted.
Printing an On-Report Card
To generate a pdf copy of an On-Report Card, click on the Printer icon for the card of your choice.
Alternatively, you can print when viewing an On-Report card. Select Print today to only include today’s progress, and Print to include progress from the full date range.
Saving a target to the target library
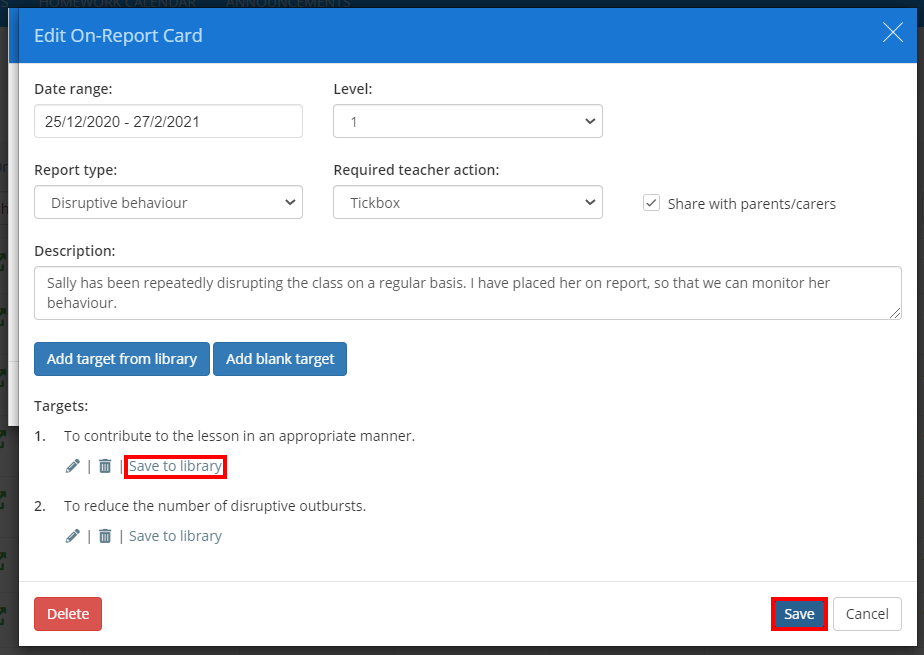
Once a target has been created via the Add blank target button, it can be added to your school’s target library so that other teachers can apply them to their On-Report cards. When a target is saved to the target library, the Report type will be saved along with it.
To save a target to the target library, click on the Save to library button for the target of your choice.
A confirmation popup will appear. Click on the OK button to continue.
A second popup will appear, to indicate that your target is now saved to the target library. Other teachers will now be able to apply the target to their On-Report cards.
Adding a target from the target library
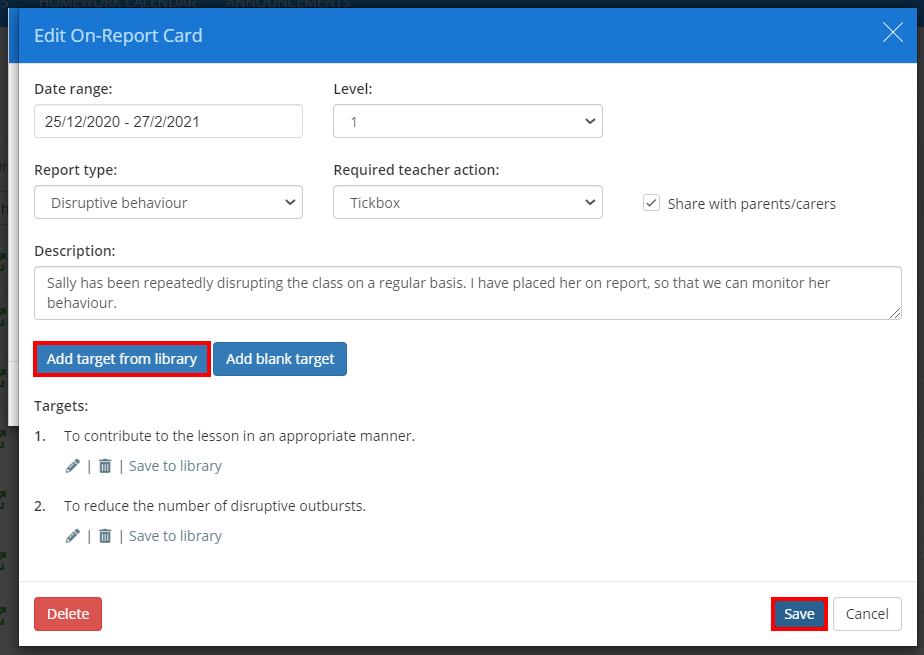
Once targets have been saved to the library, they can be reapplied to any On-Report card.
To add a target from the target library, click on the Add target from library button.
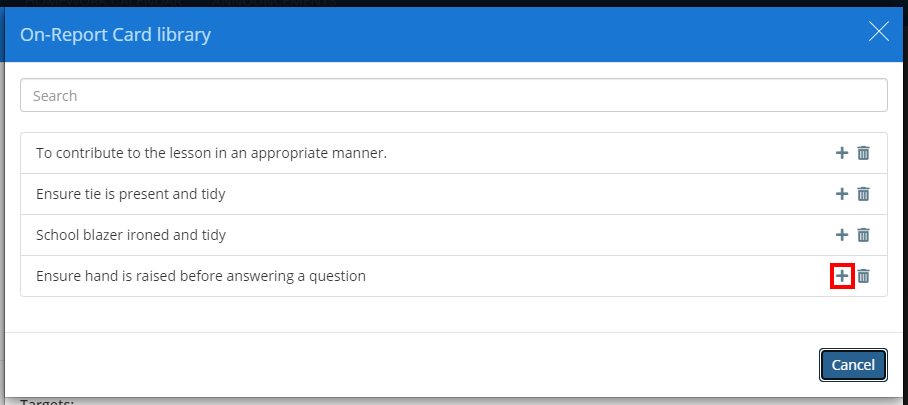
The On-Report Card library popup will appear, which lists all targets that have been saved to your school’s target library.
To add a target to your On-Report card, click on the plus icon for the target of your choice.
The added target will then appear within your On-Report card’s list of targets.

